Dune Bull Fighting Statue
ABOUT
PRIMARY SUPPLIES
- PLA filament and 3D printer
- E6000 glue
- Sandpaper: coarse (100 – 300), medium (400 – 800) , and fine grits (+2000). A Dremel tool on slow speed can cut down your sanding time.
- Raw copper
- 1.5V & 200-300mA Power supply, alligator clips, and aluminum foil
- Conductive nickel spray-paint
- Acid or patina aging solution
More information below.
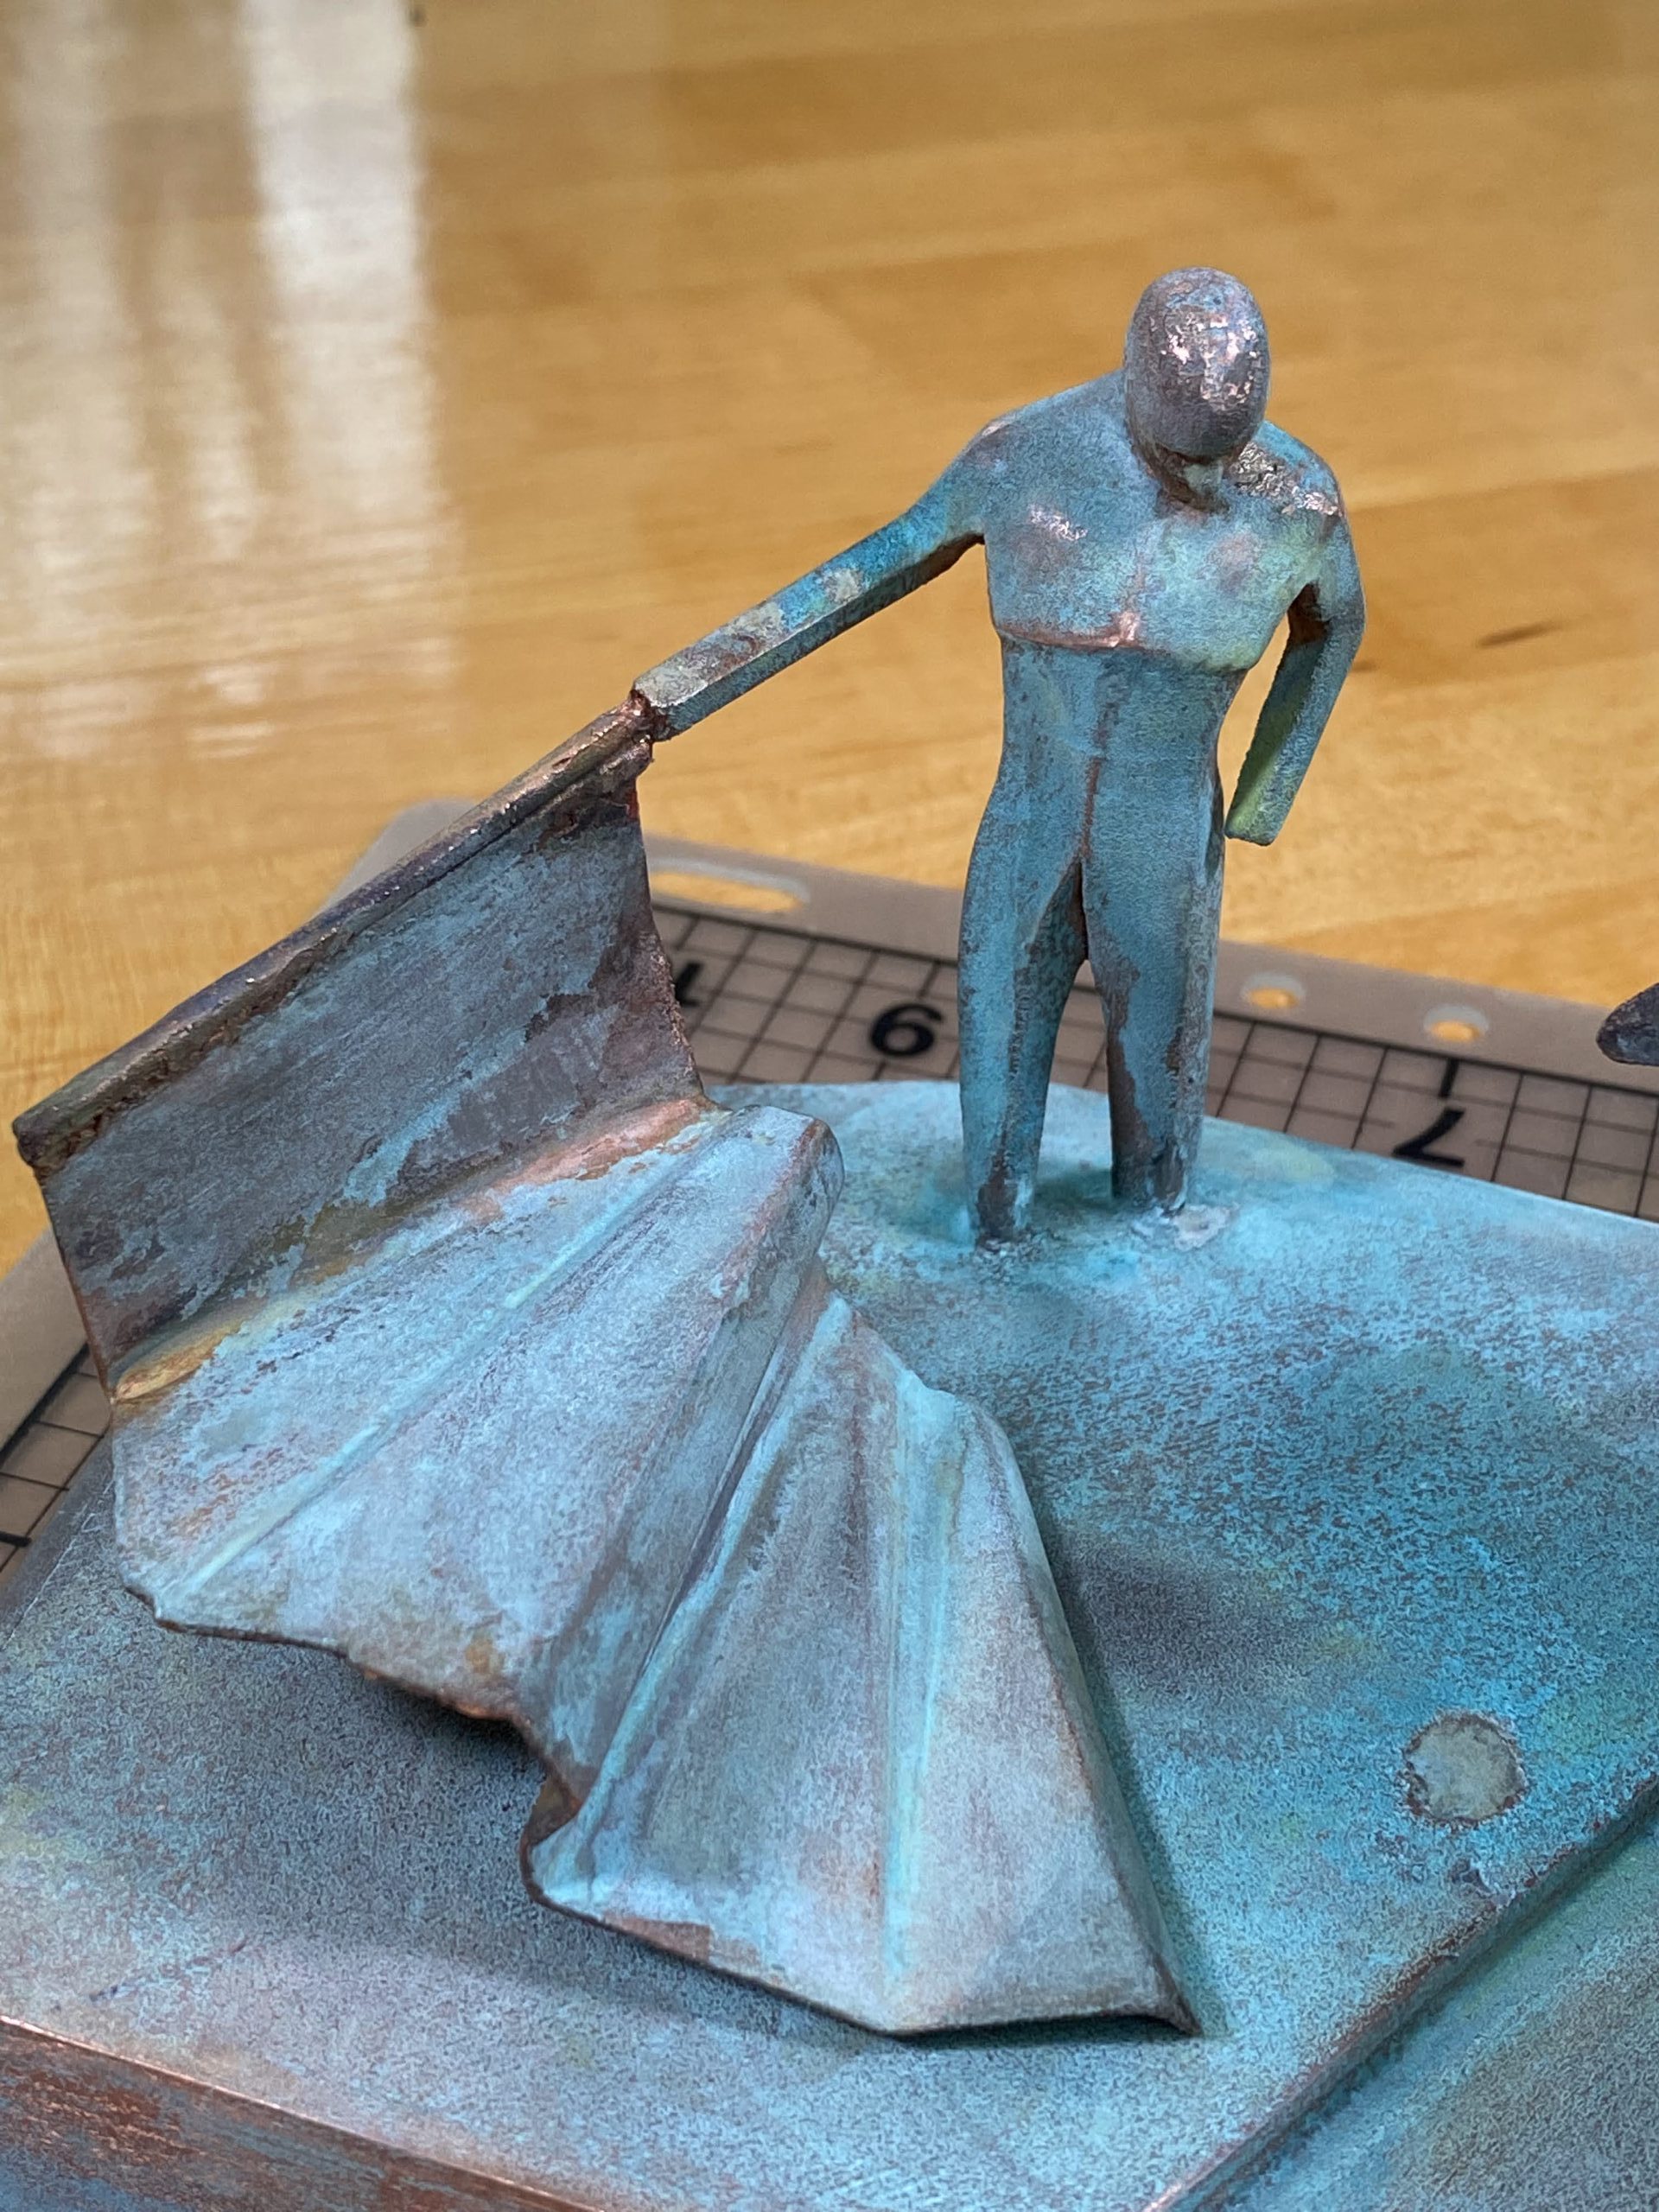
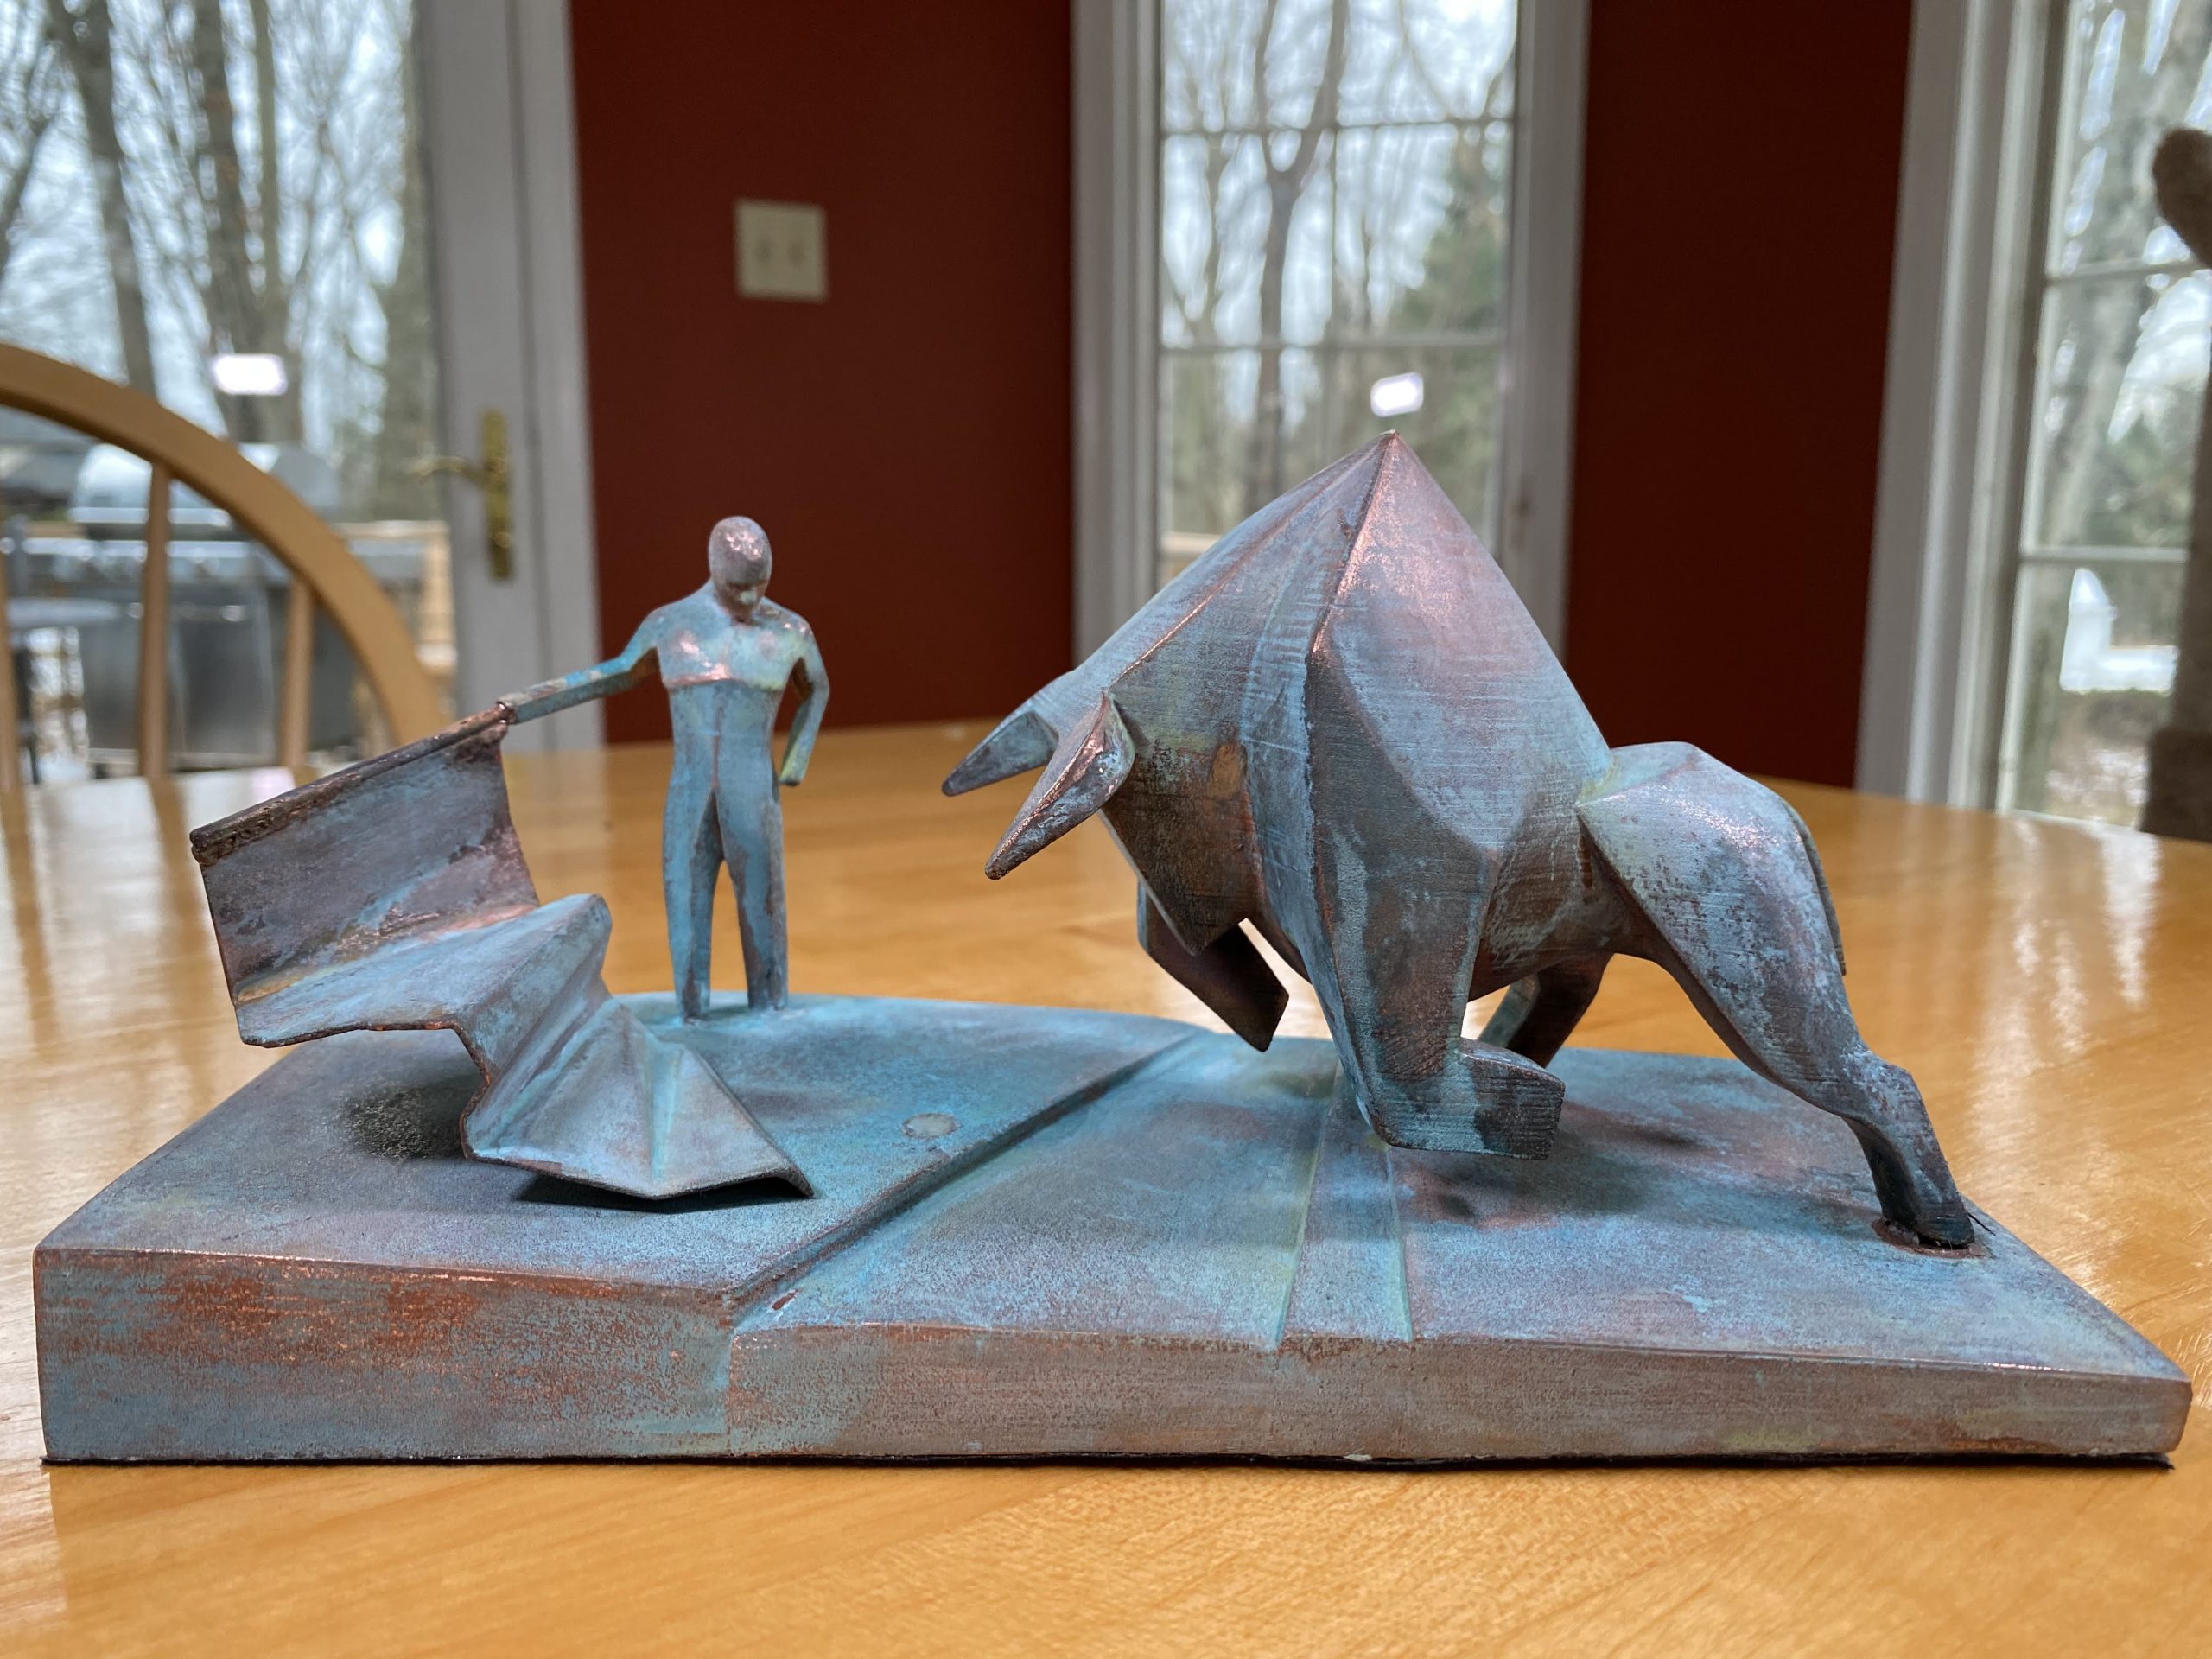
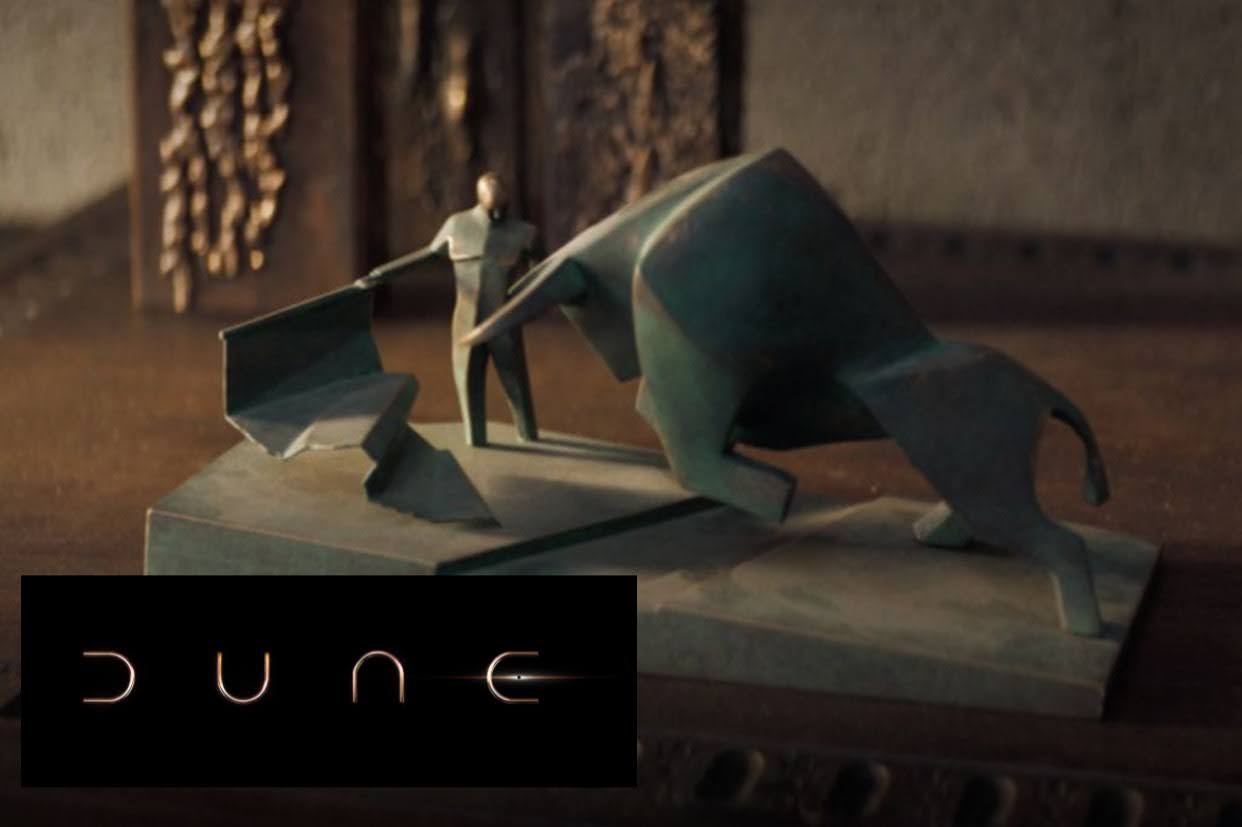
THE GOAL
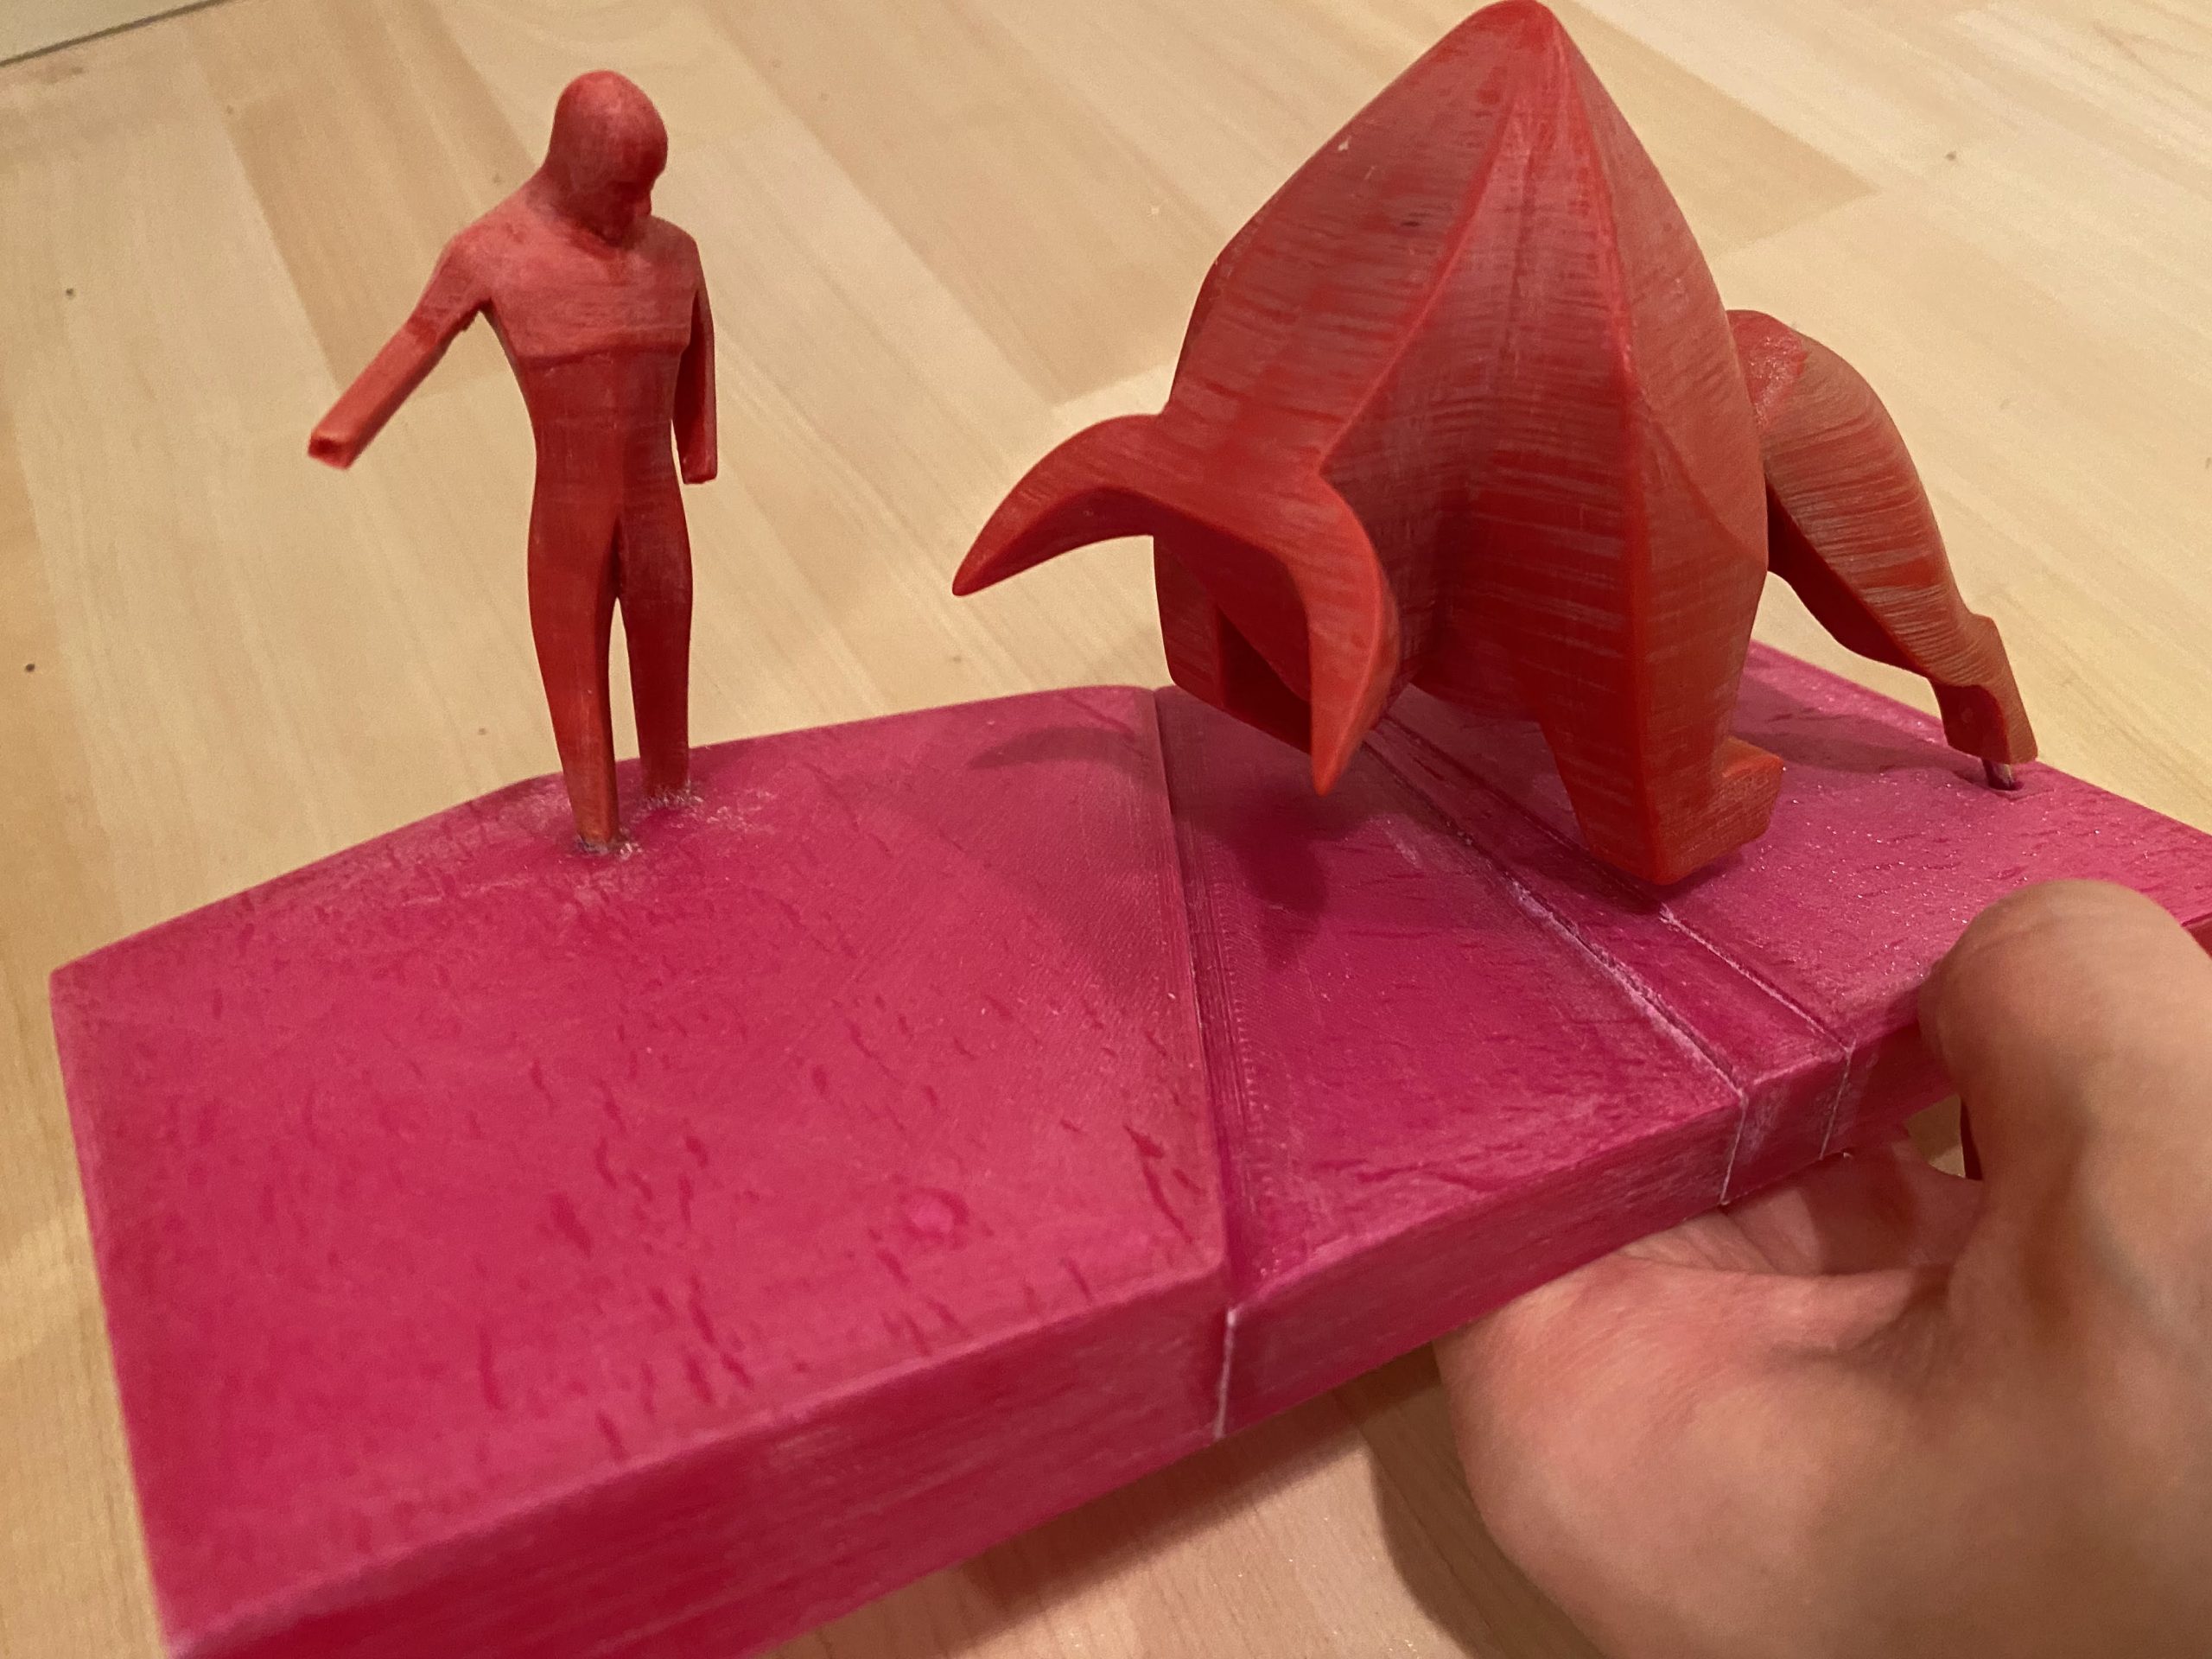
Create a replica of the bull fighting statue from the 2021 Dune movie. In the movie, Paul Atreides can be seen staring at the miniature bronze statue of his grandfather pictured below.
Movie screenshot:
THE STAGES
1) 3D print the statue
2) Electroplate the statue with copper
3) Oxidize the copper to achieve a blue-ish patina
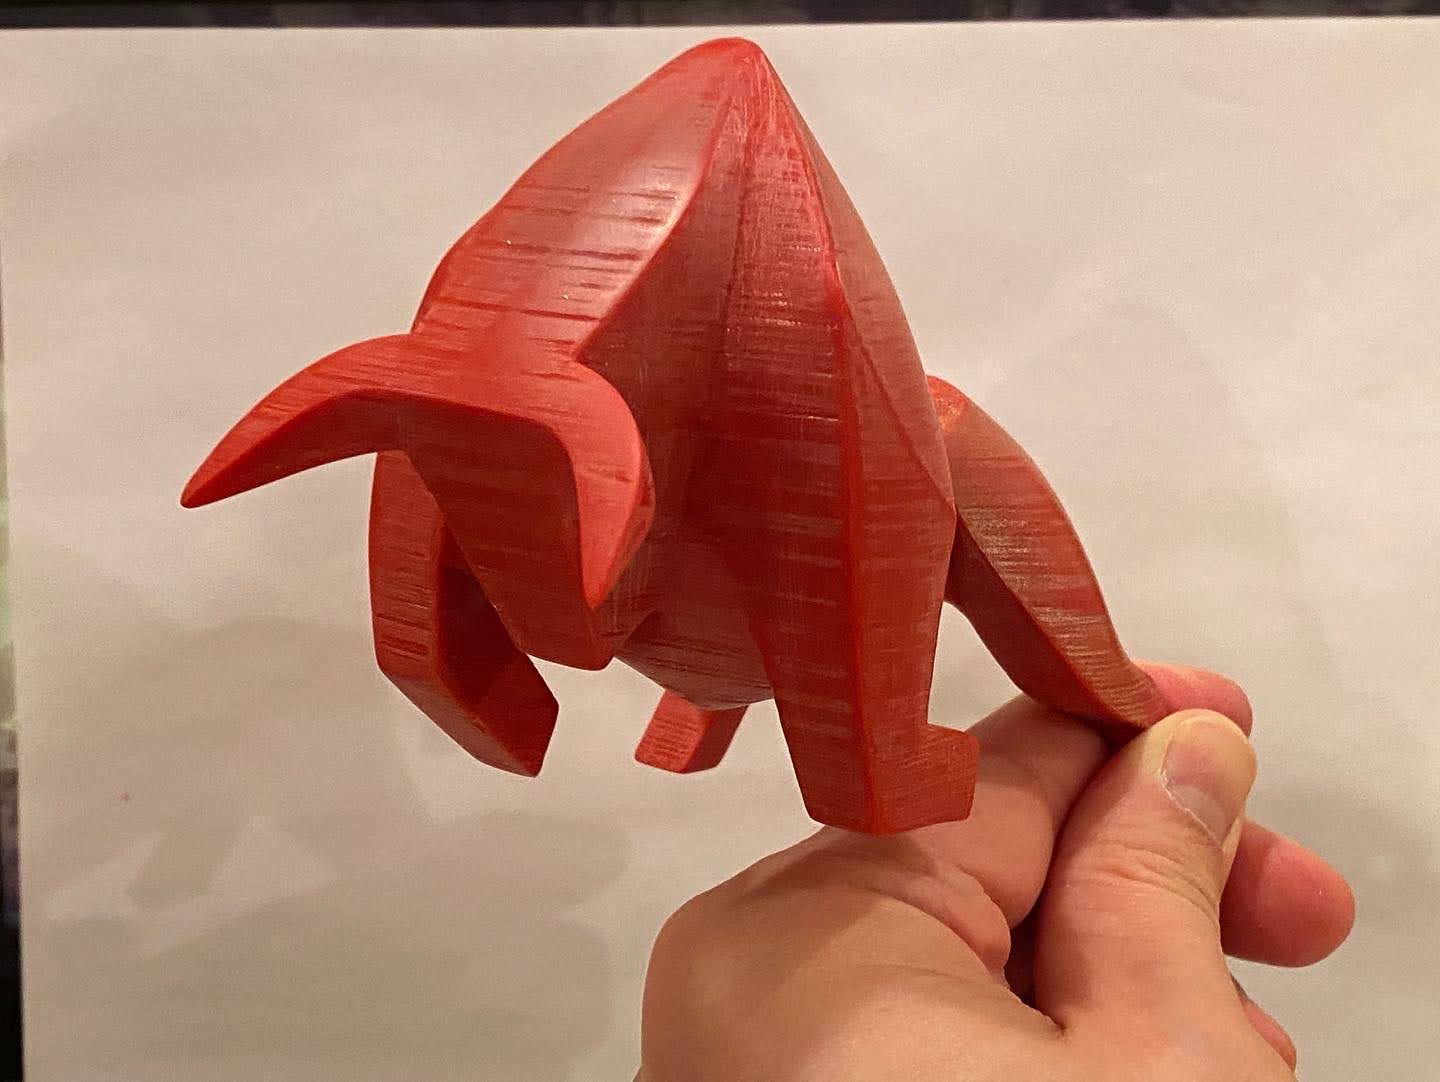
[ PREVIEW ]
STAGE 1
CONSTRUCTION
3D PRINTING
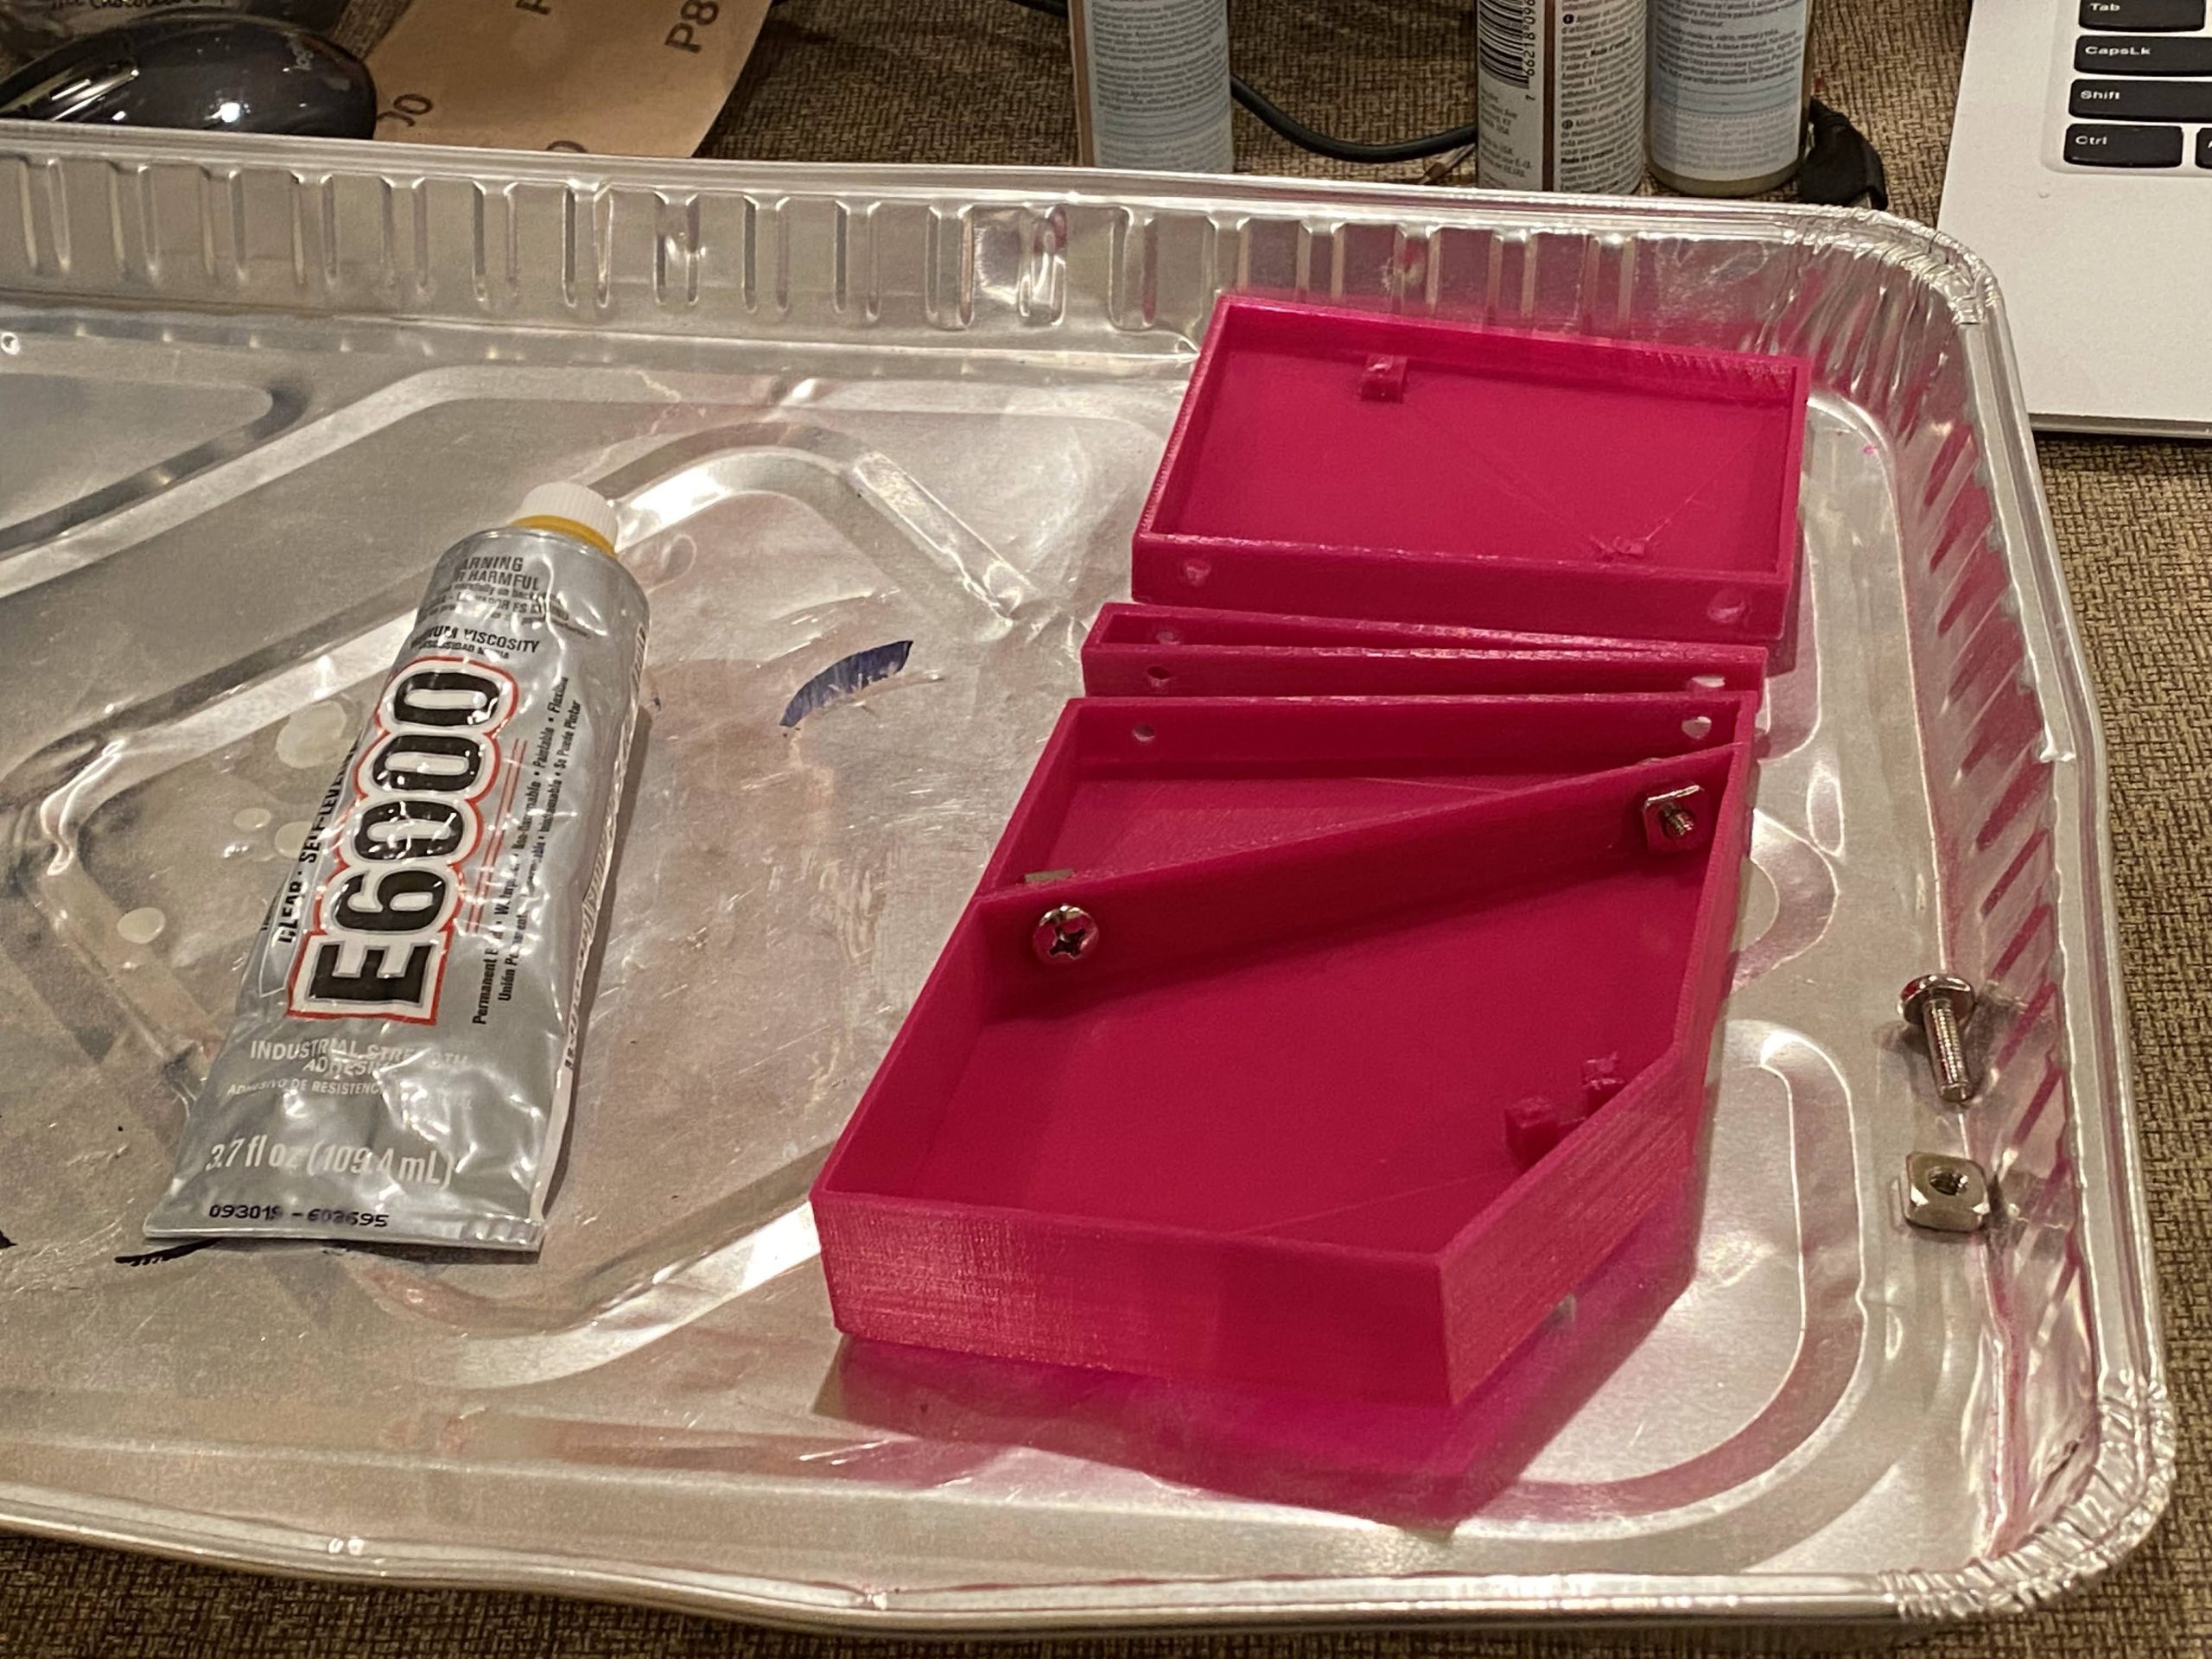
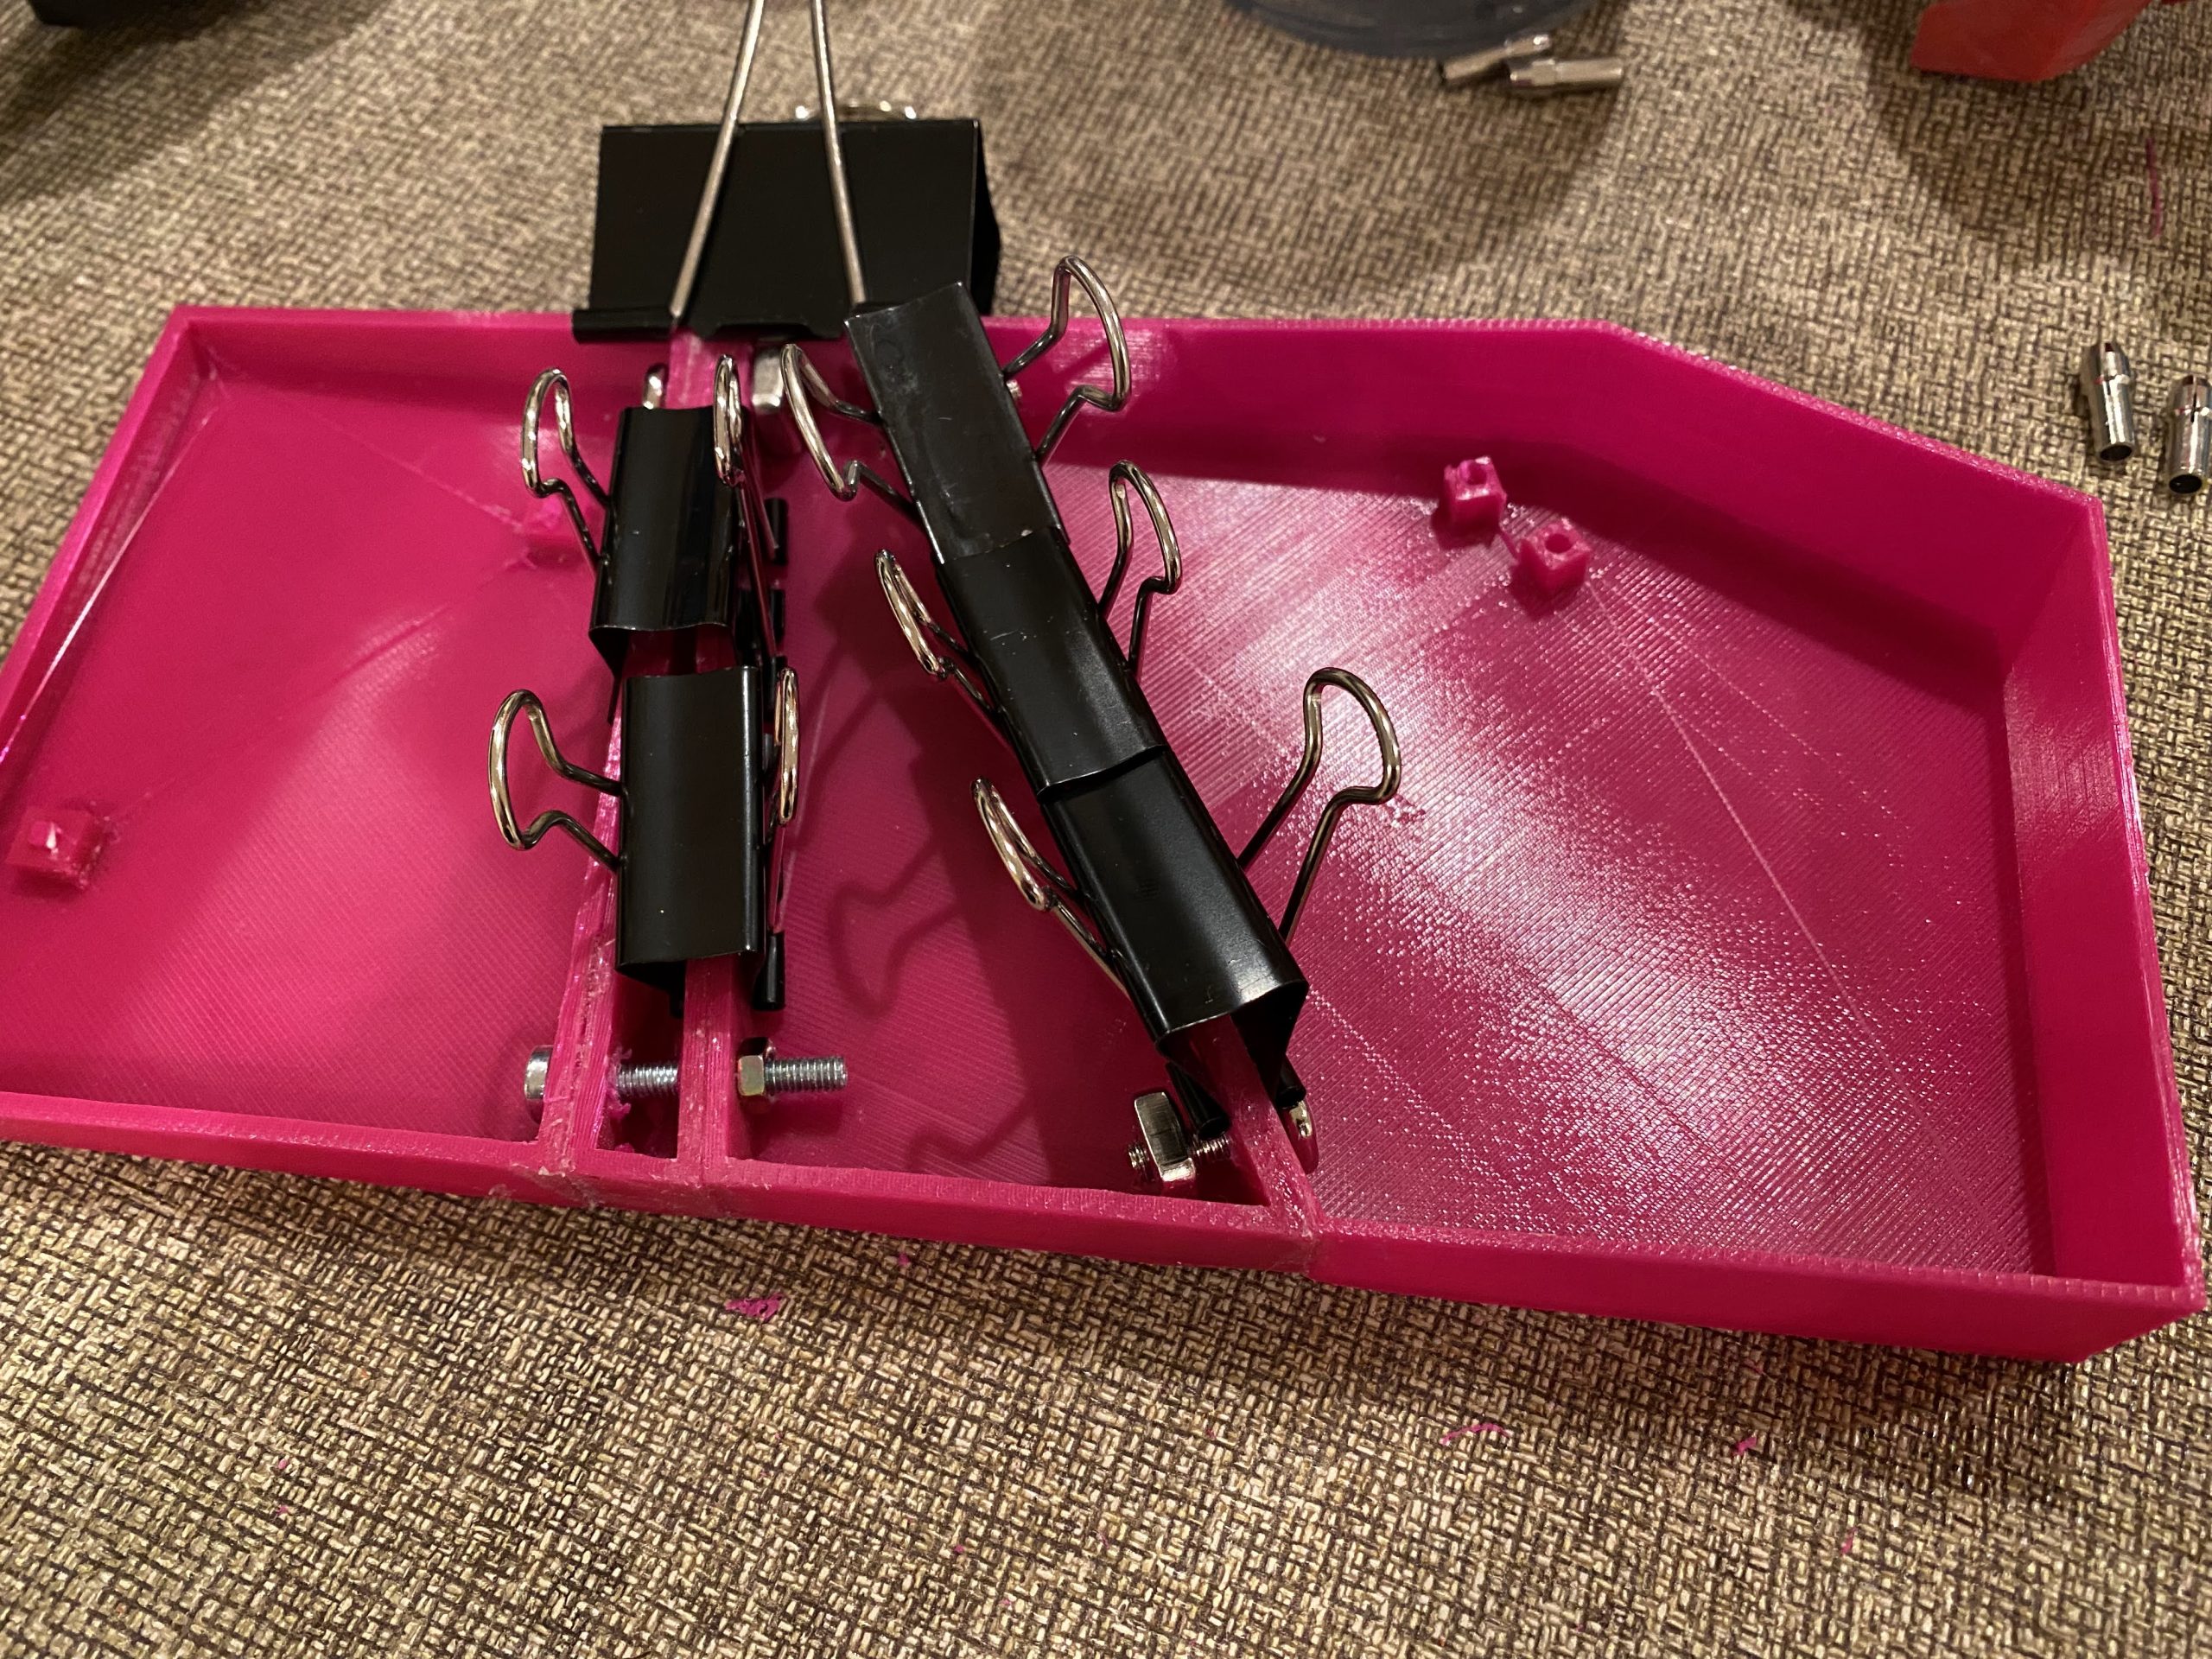
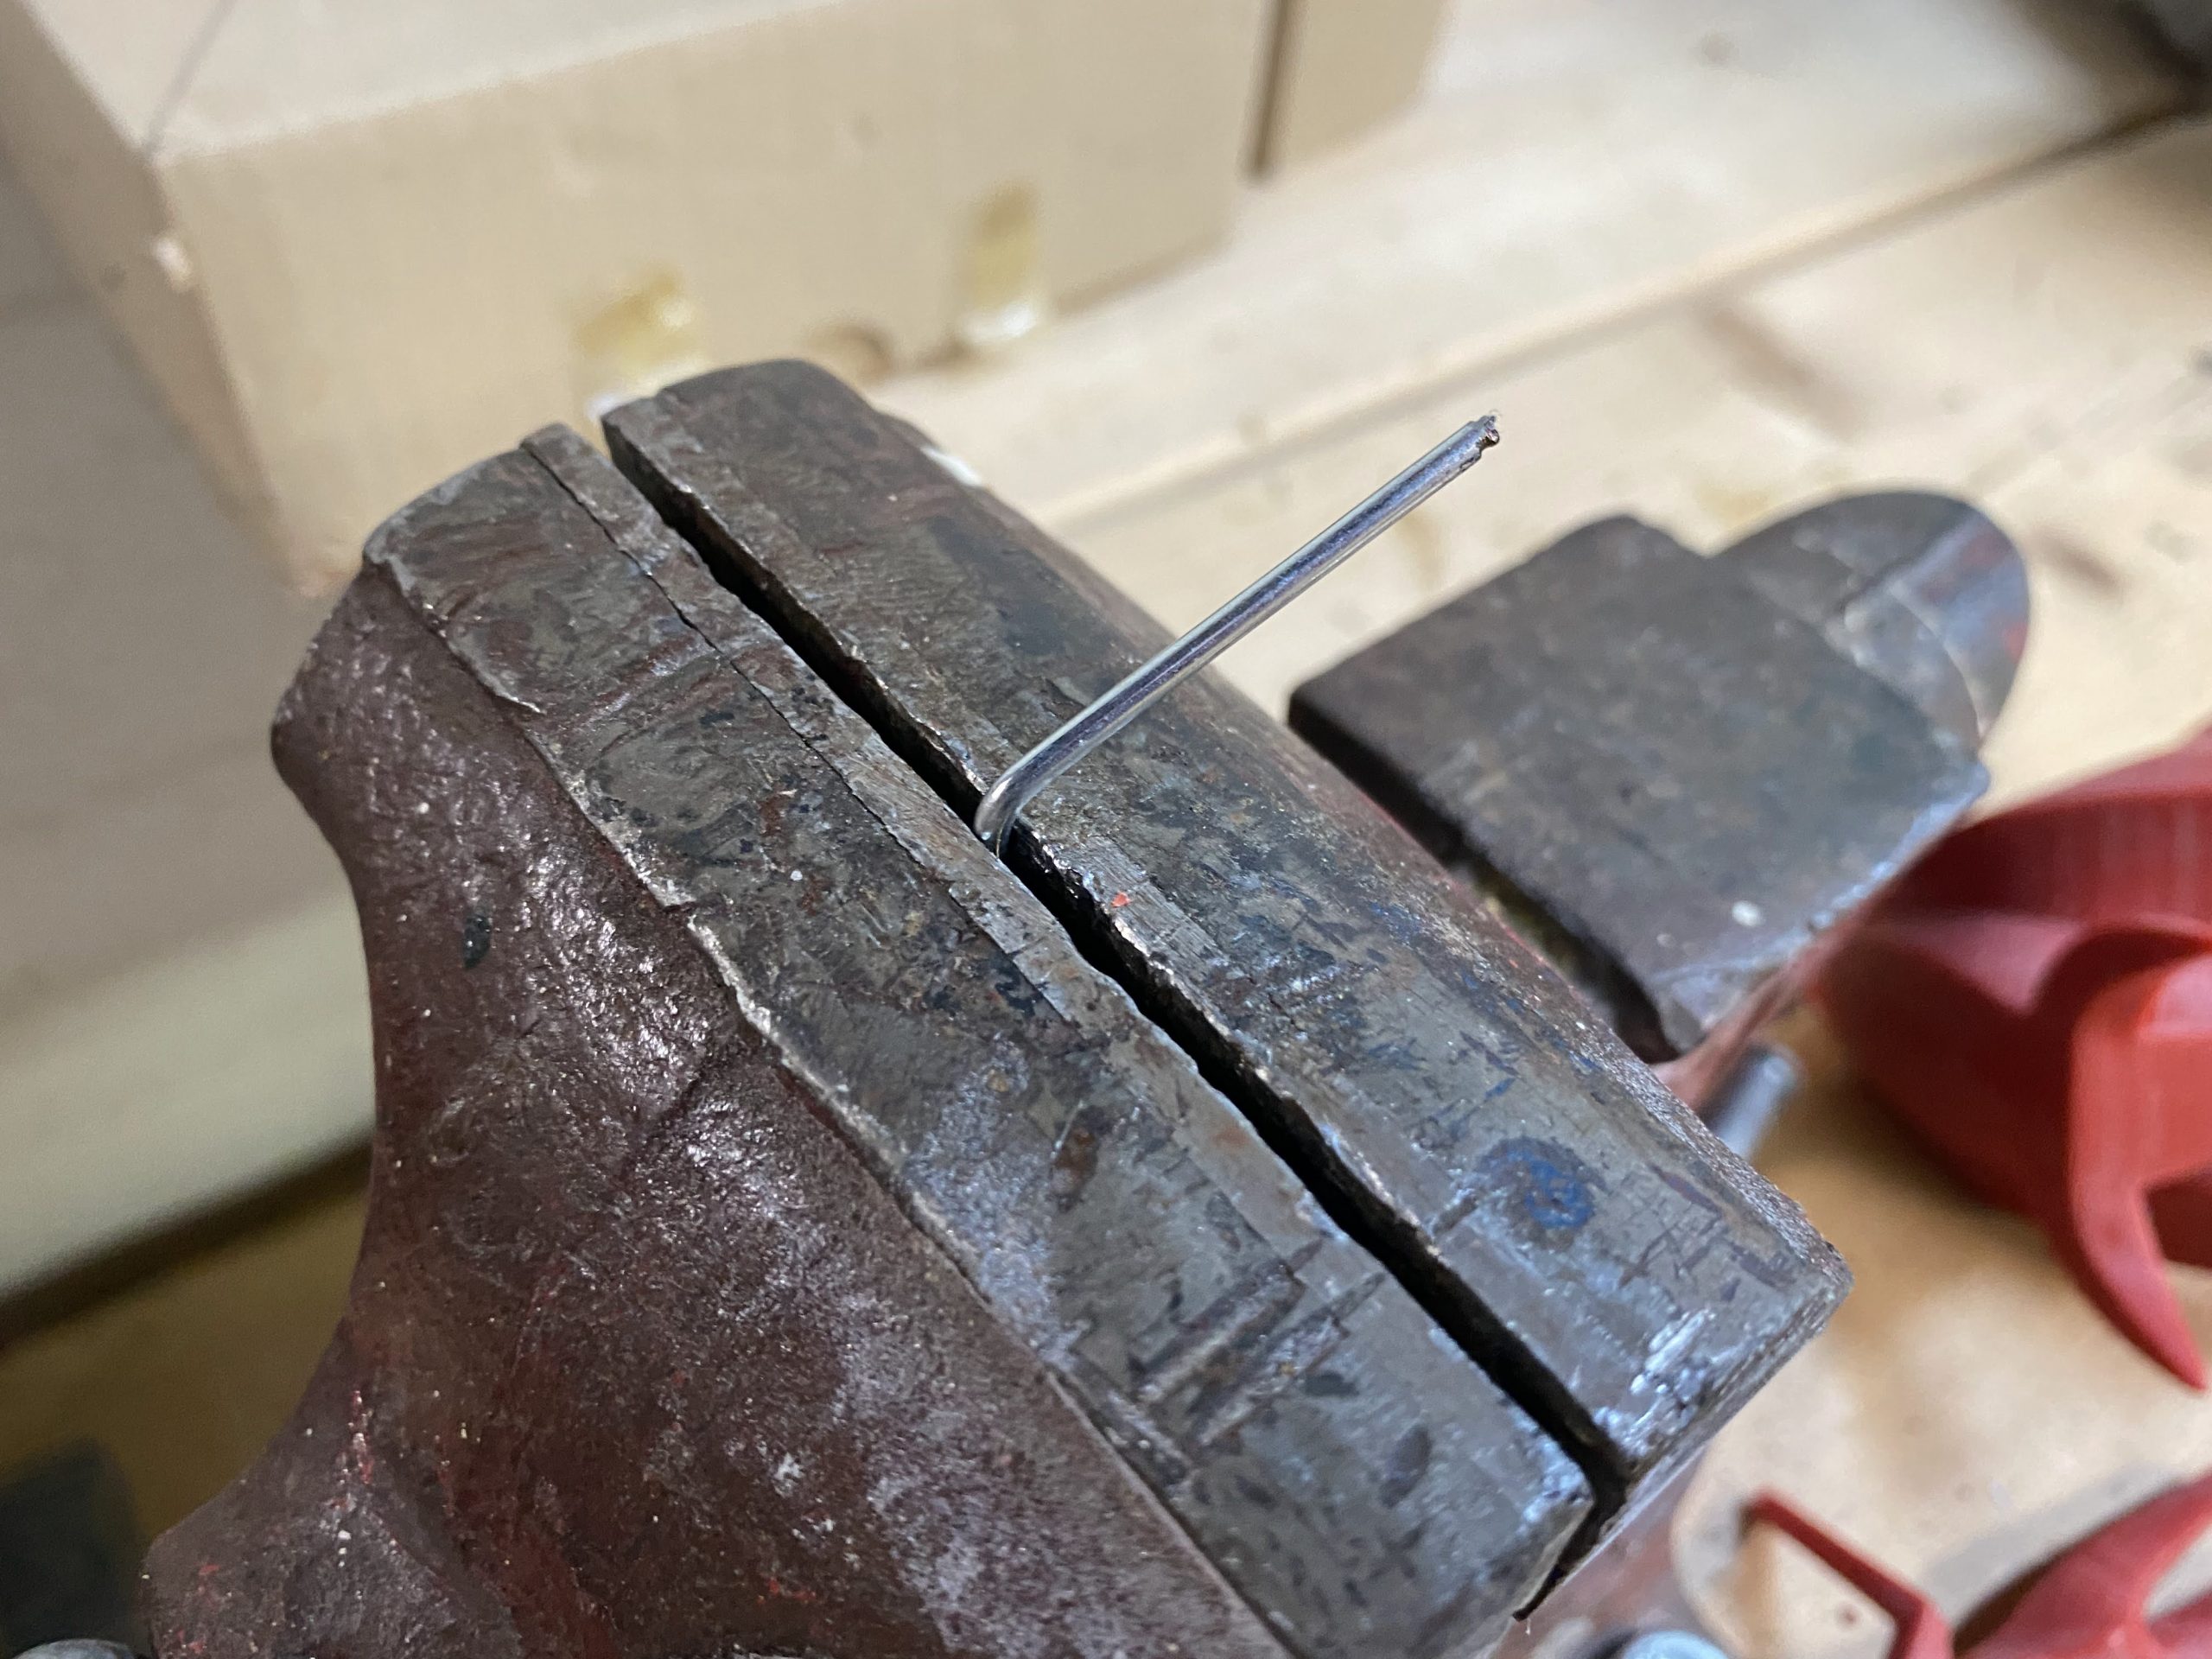
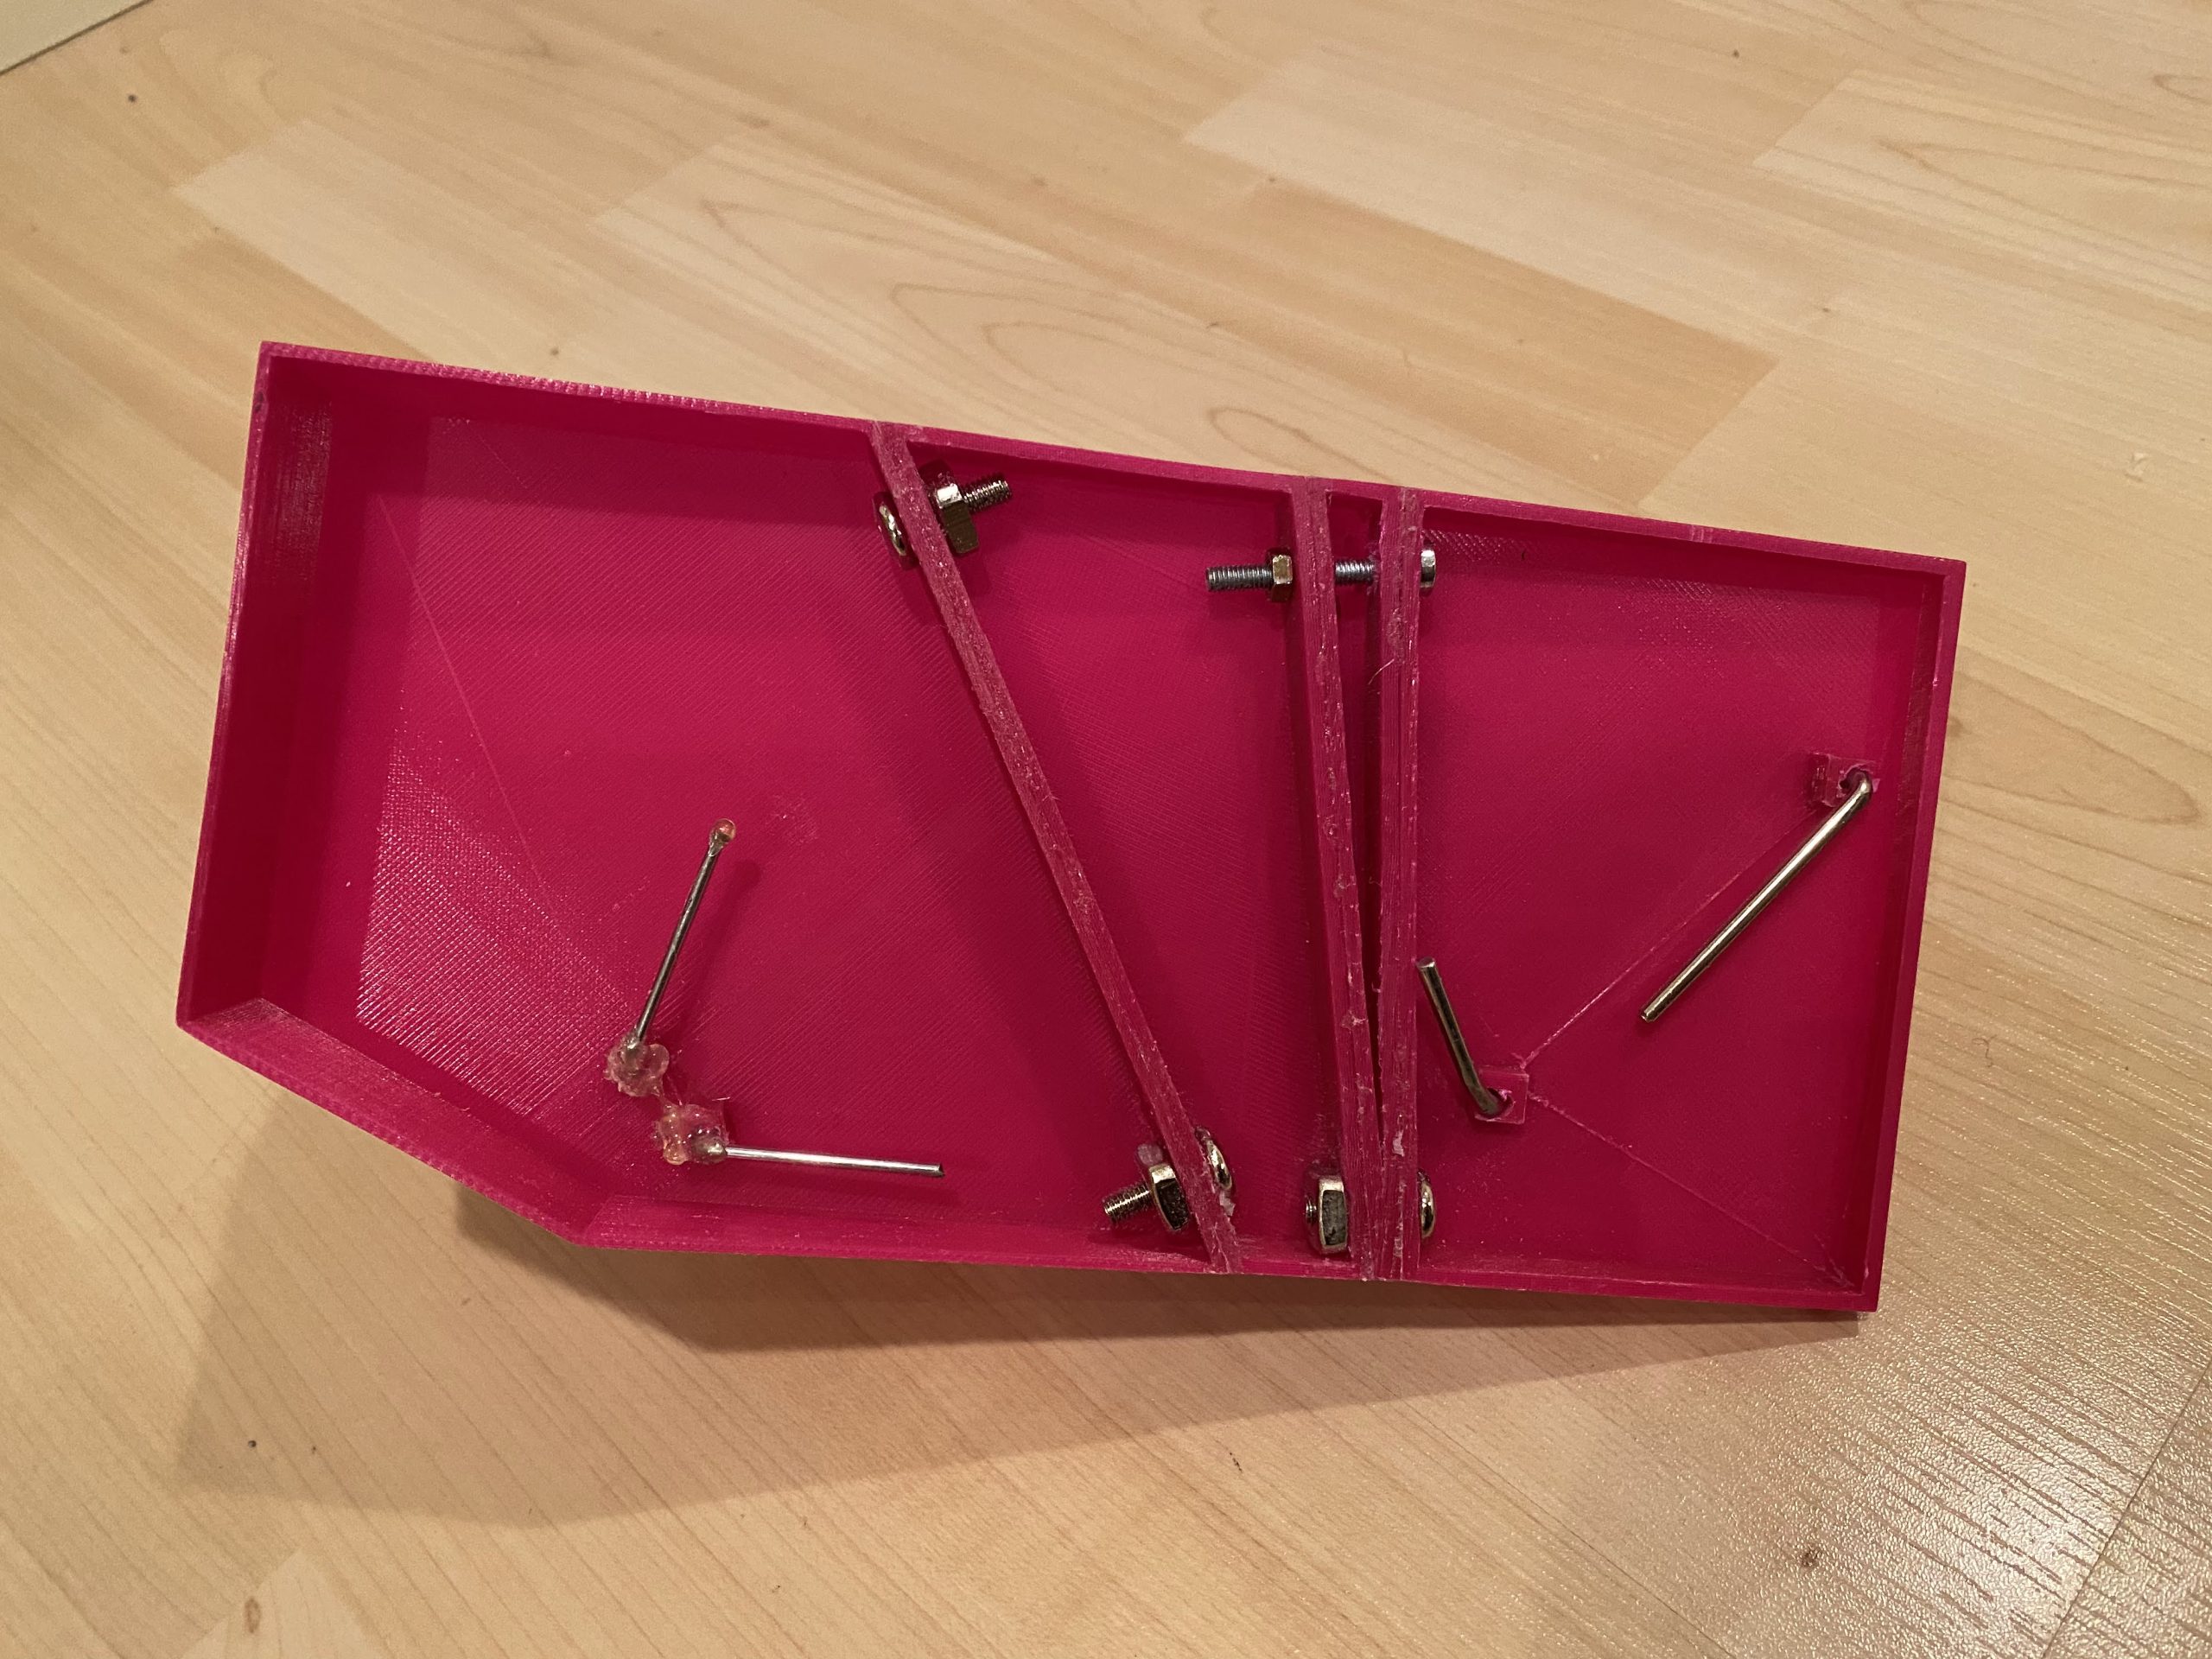
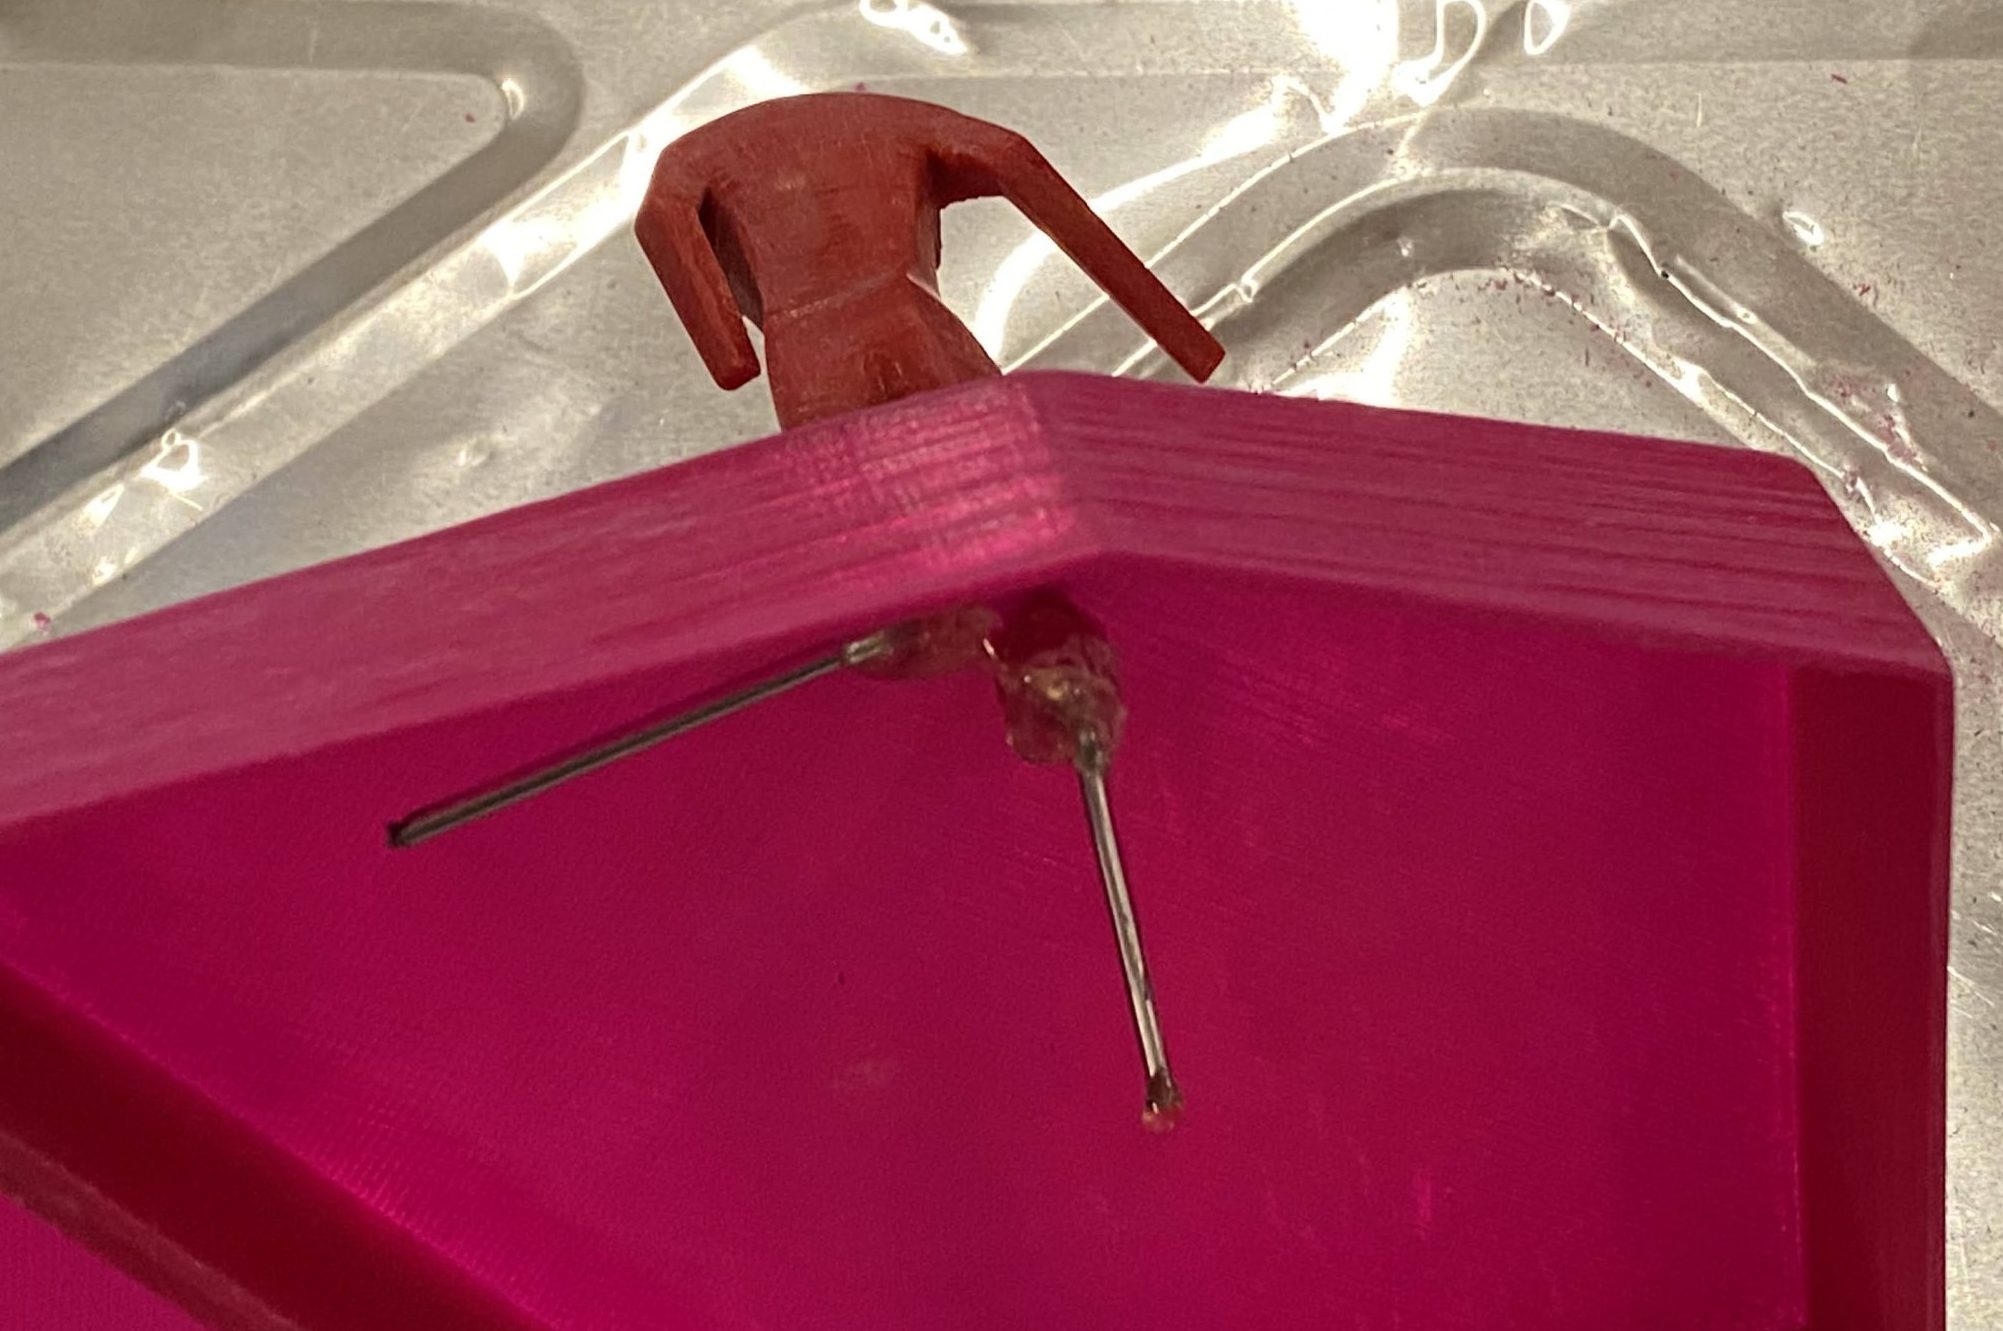
Assemble The Base
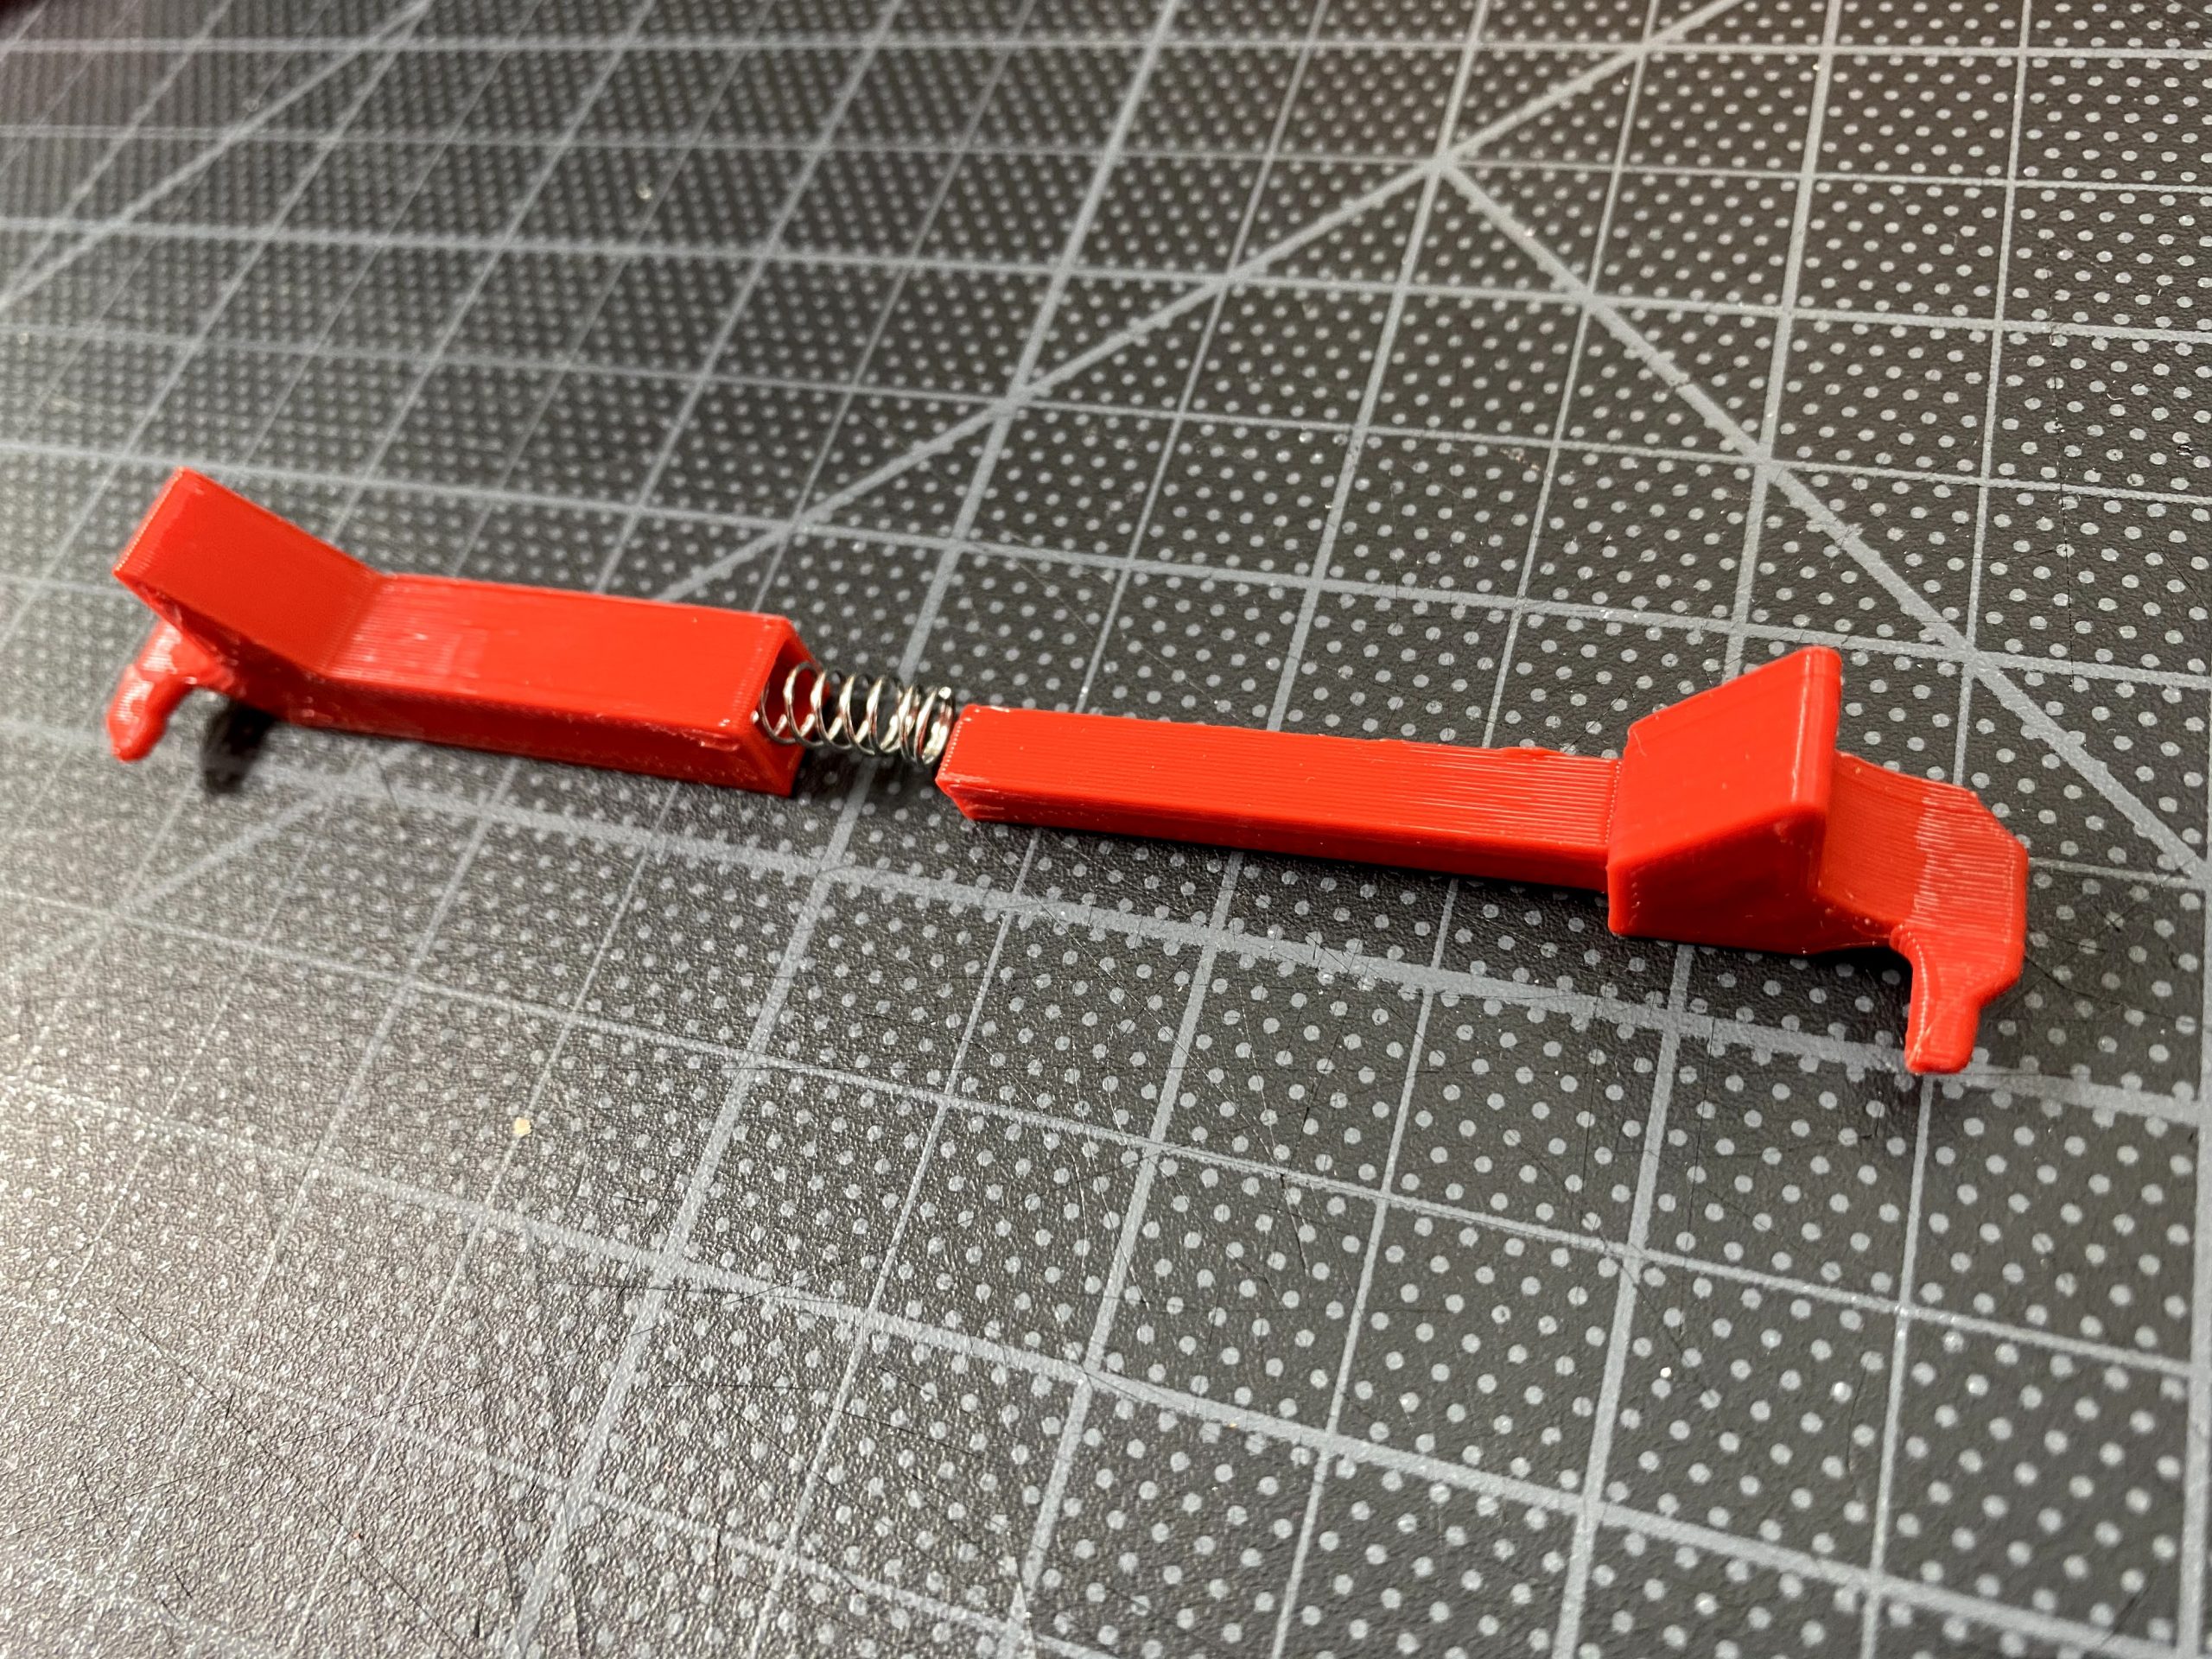
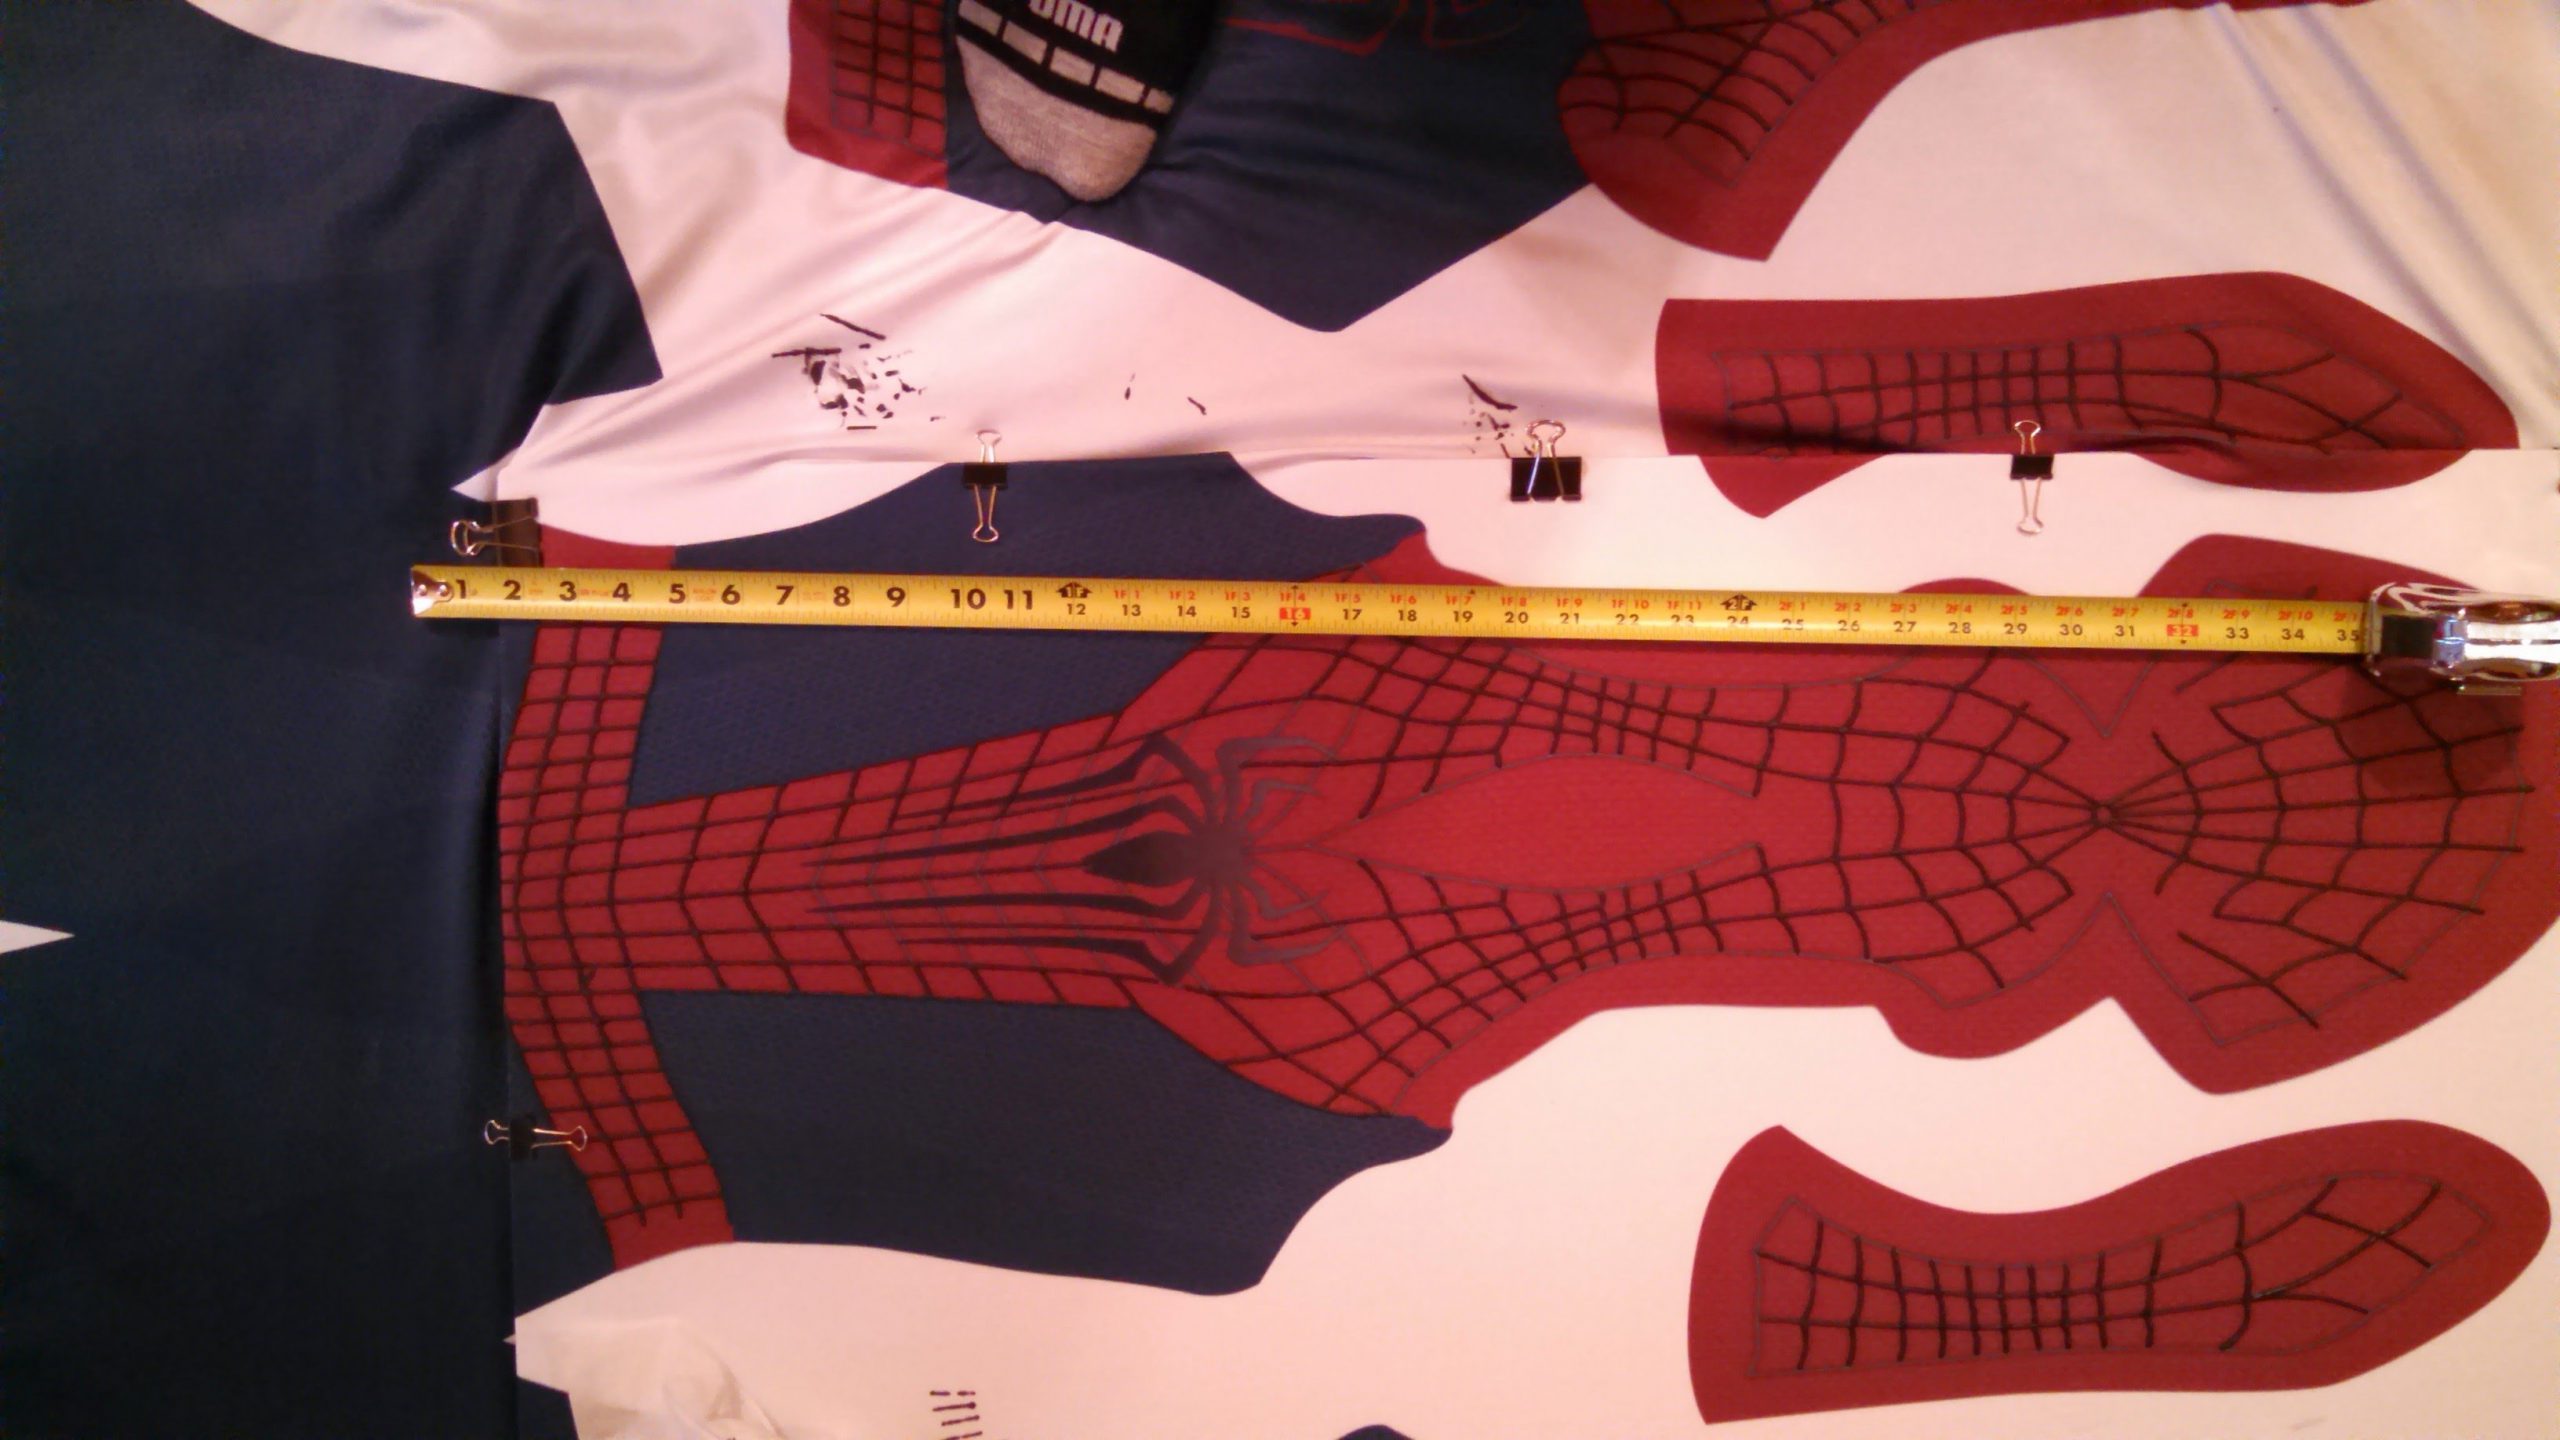
Due to my printer (Davinci Mini by XYZ) having a smaller print area of 5.9 inches by 5.9 inches, I couldn’t print the entire base in one go. Instead, I sliced the base into four parts, drilled holes on the underside of each component, and fastened them together with bolts and E6000 glue.
Smoothing
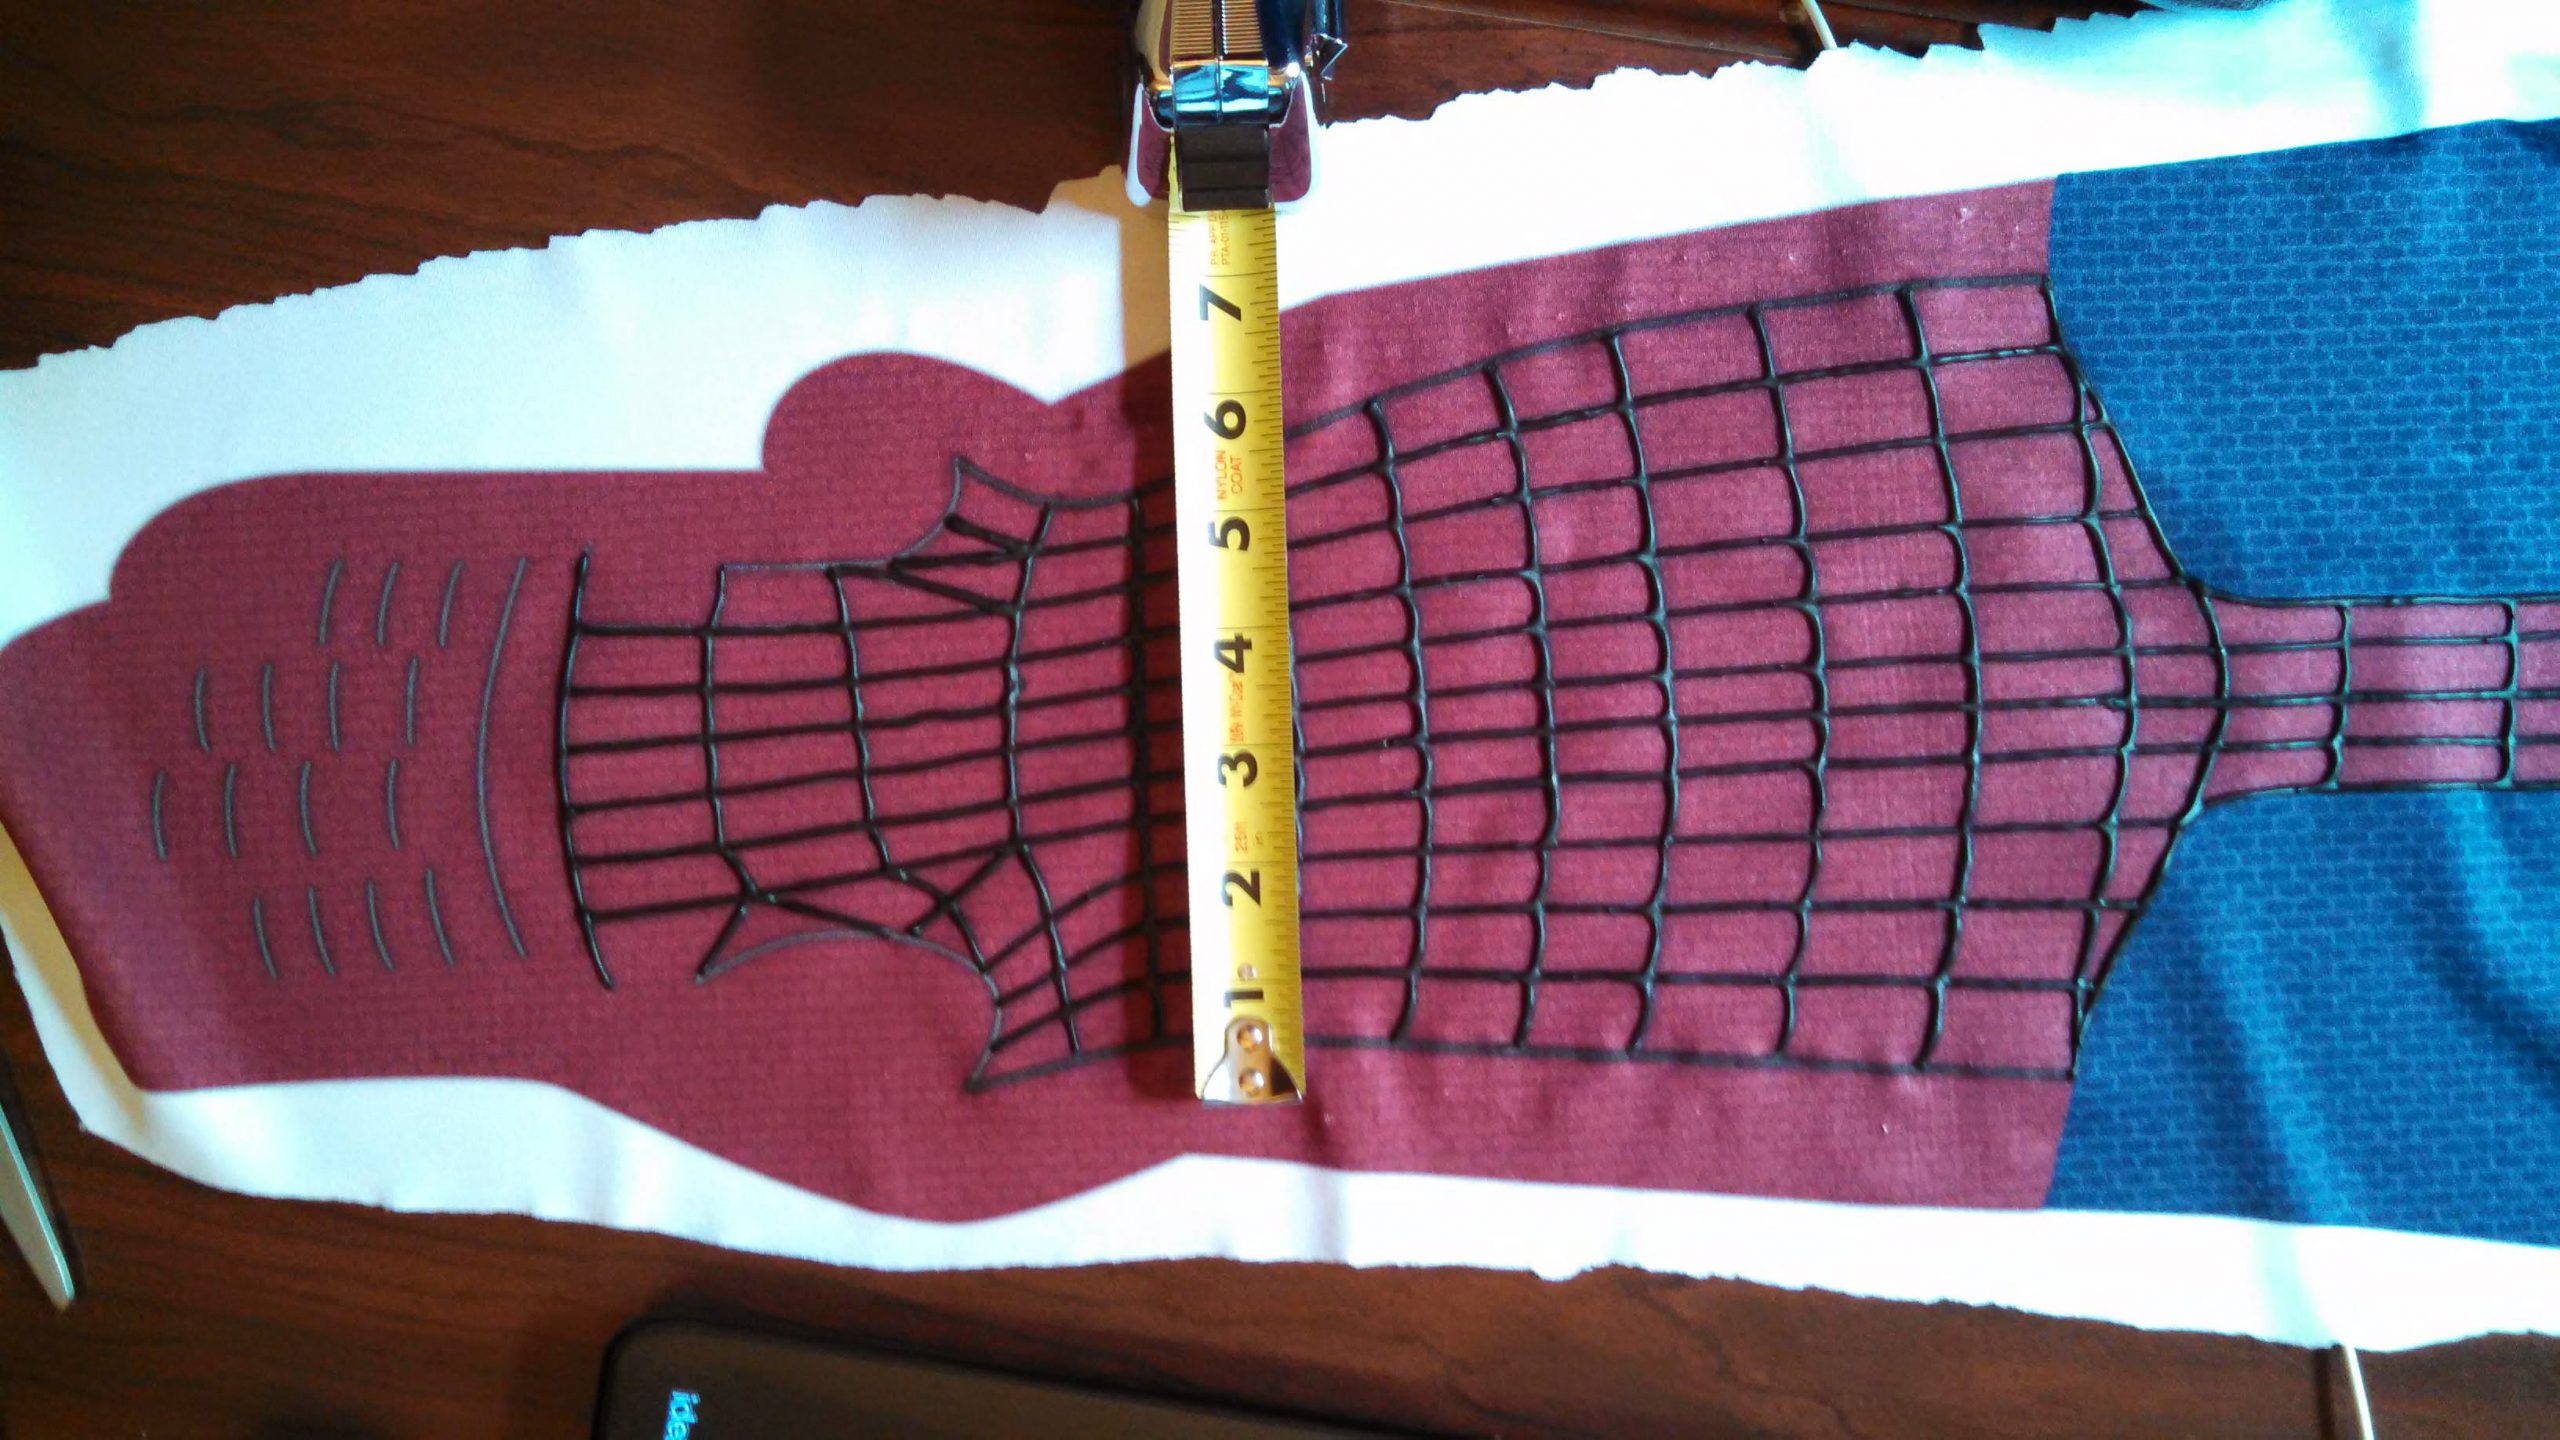
Now we need to sand our print so that the surface is as smooth as possible. The unmistakable layers of a 3D print can be charming, but in order to be more movie-accurate and allow us to plate the statue with real copper, this uneven surface is not desirable.
There are two methods I attempted: (1) sanding the PLA model immediately and (2) first painting the model with a rubber-like coating (such as Smooth-On XTC-3D) to fill in the gaps between layers and then sanding.

Test Fitting
STAGE 2
ELECTROPLATING
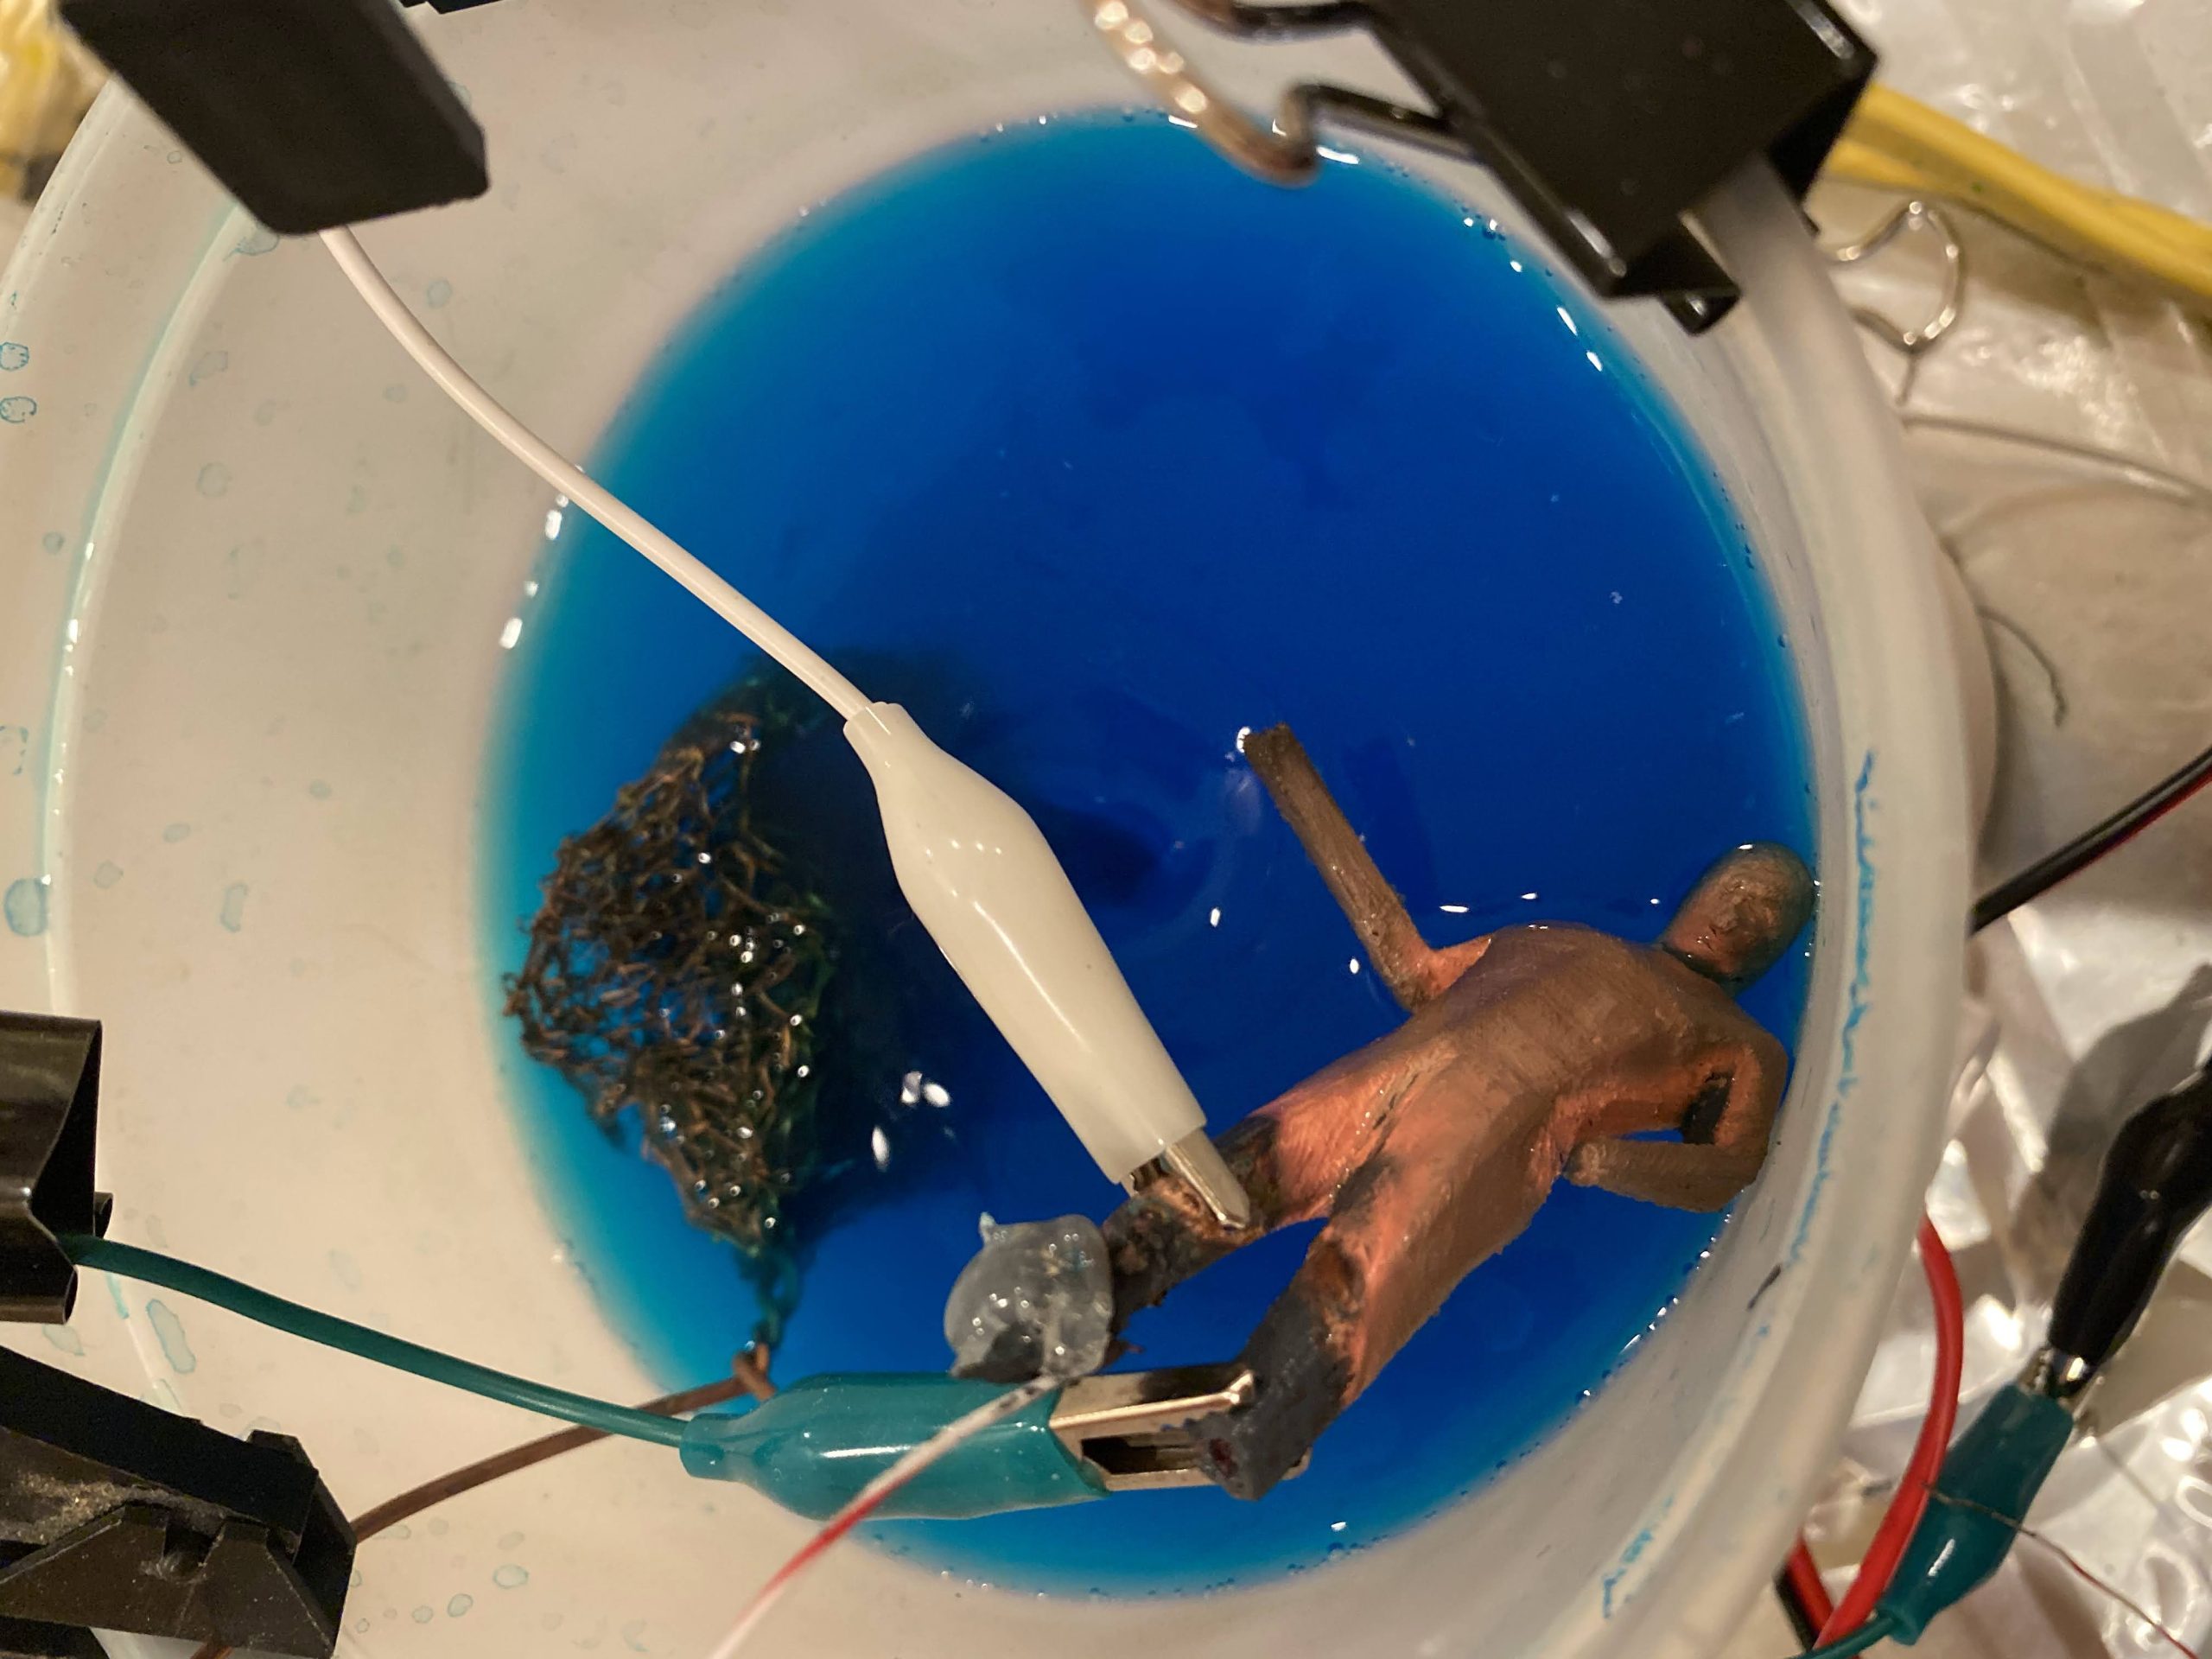
Creating the Acid Bath
First we need a bath to soak our statue in as it’s being electroplated. I found the most effective solution is one with copper already dissolved (copper-acetate), but any acidic solution should work. Note: by “most effective” I mean the least time required and largest area with copper coverage.
DISCLAIMER! I am not a chemist, so unless you are a professional, I would not recommend creating your own copper-acetate solution like I did. When handling the acid, make sure to use proper protection.
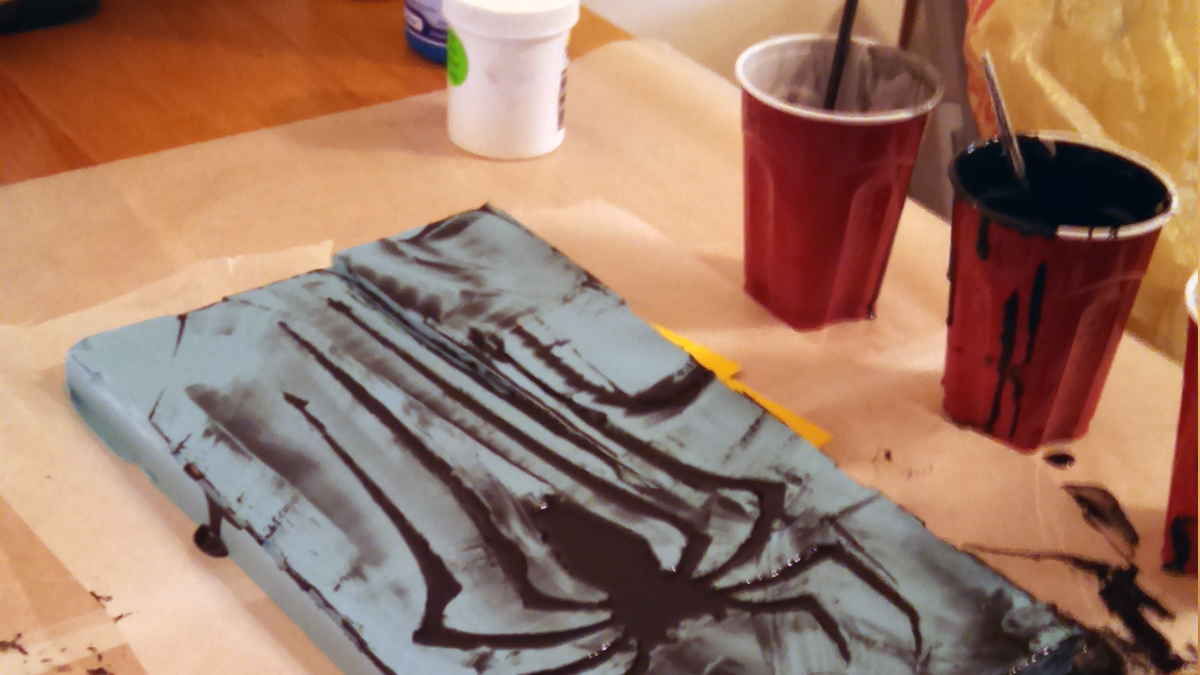
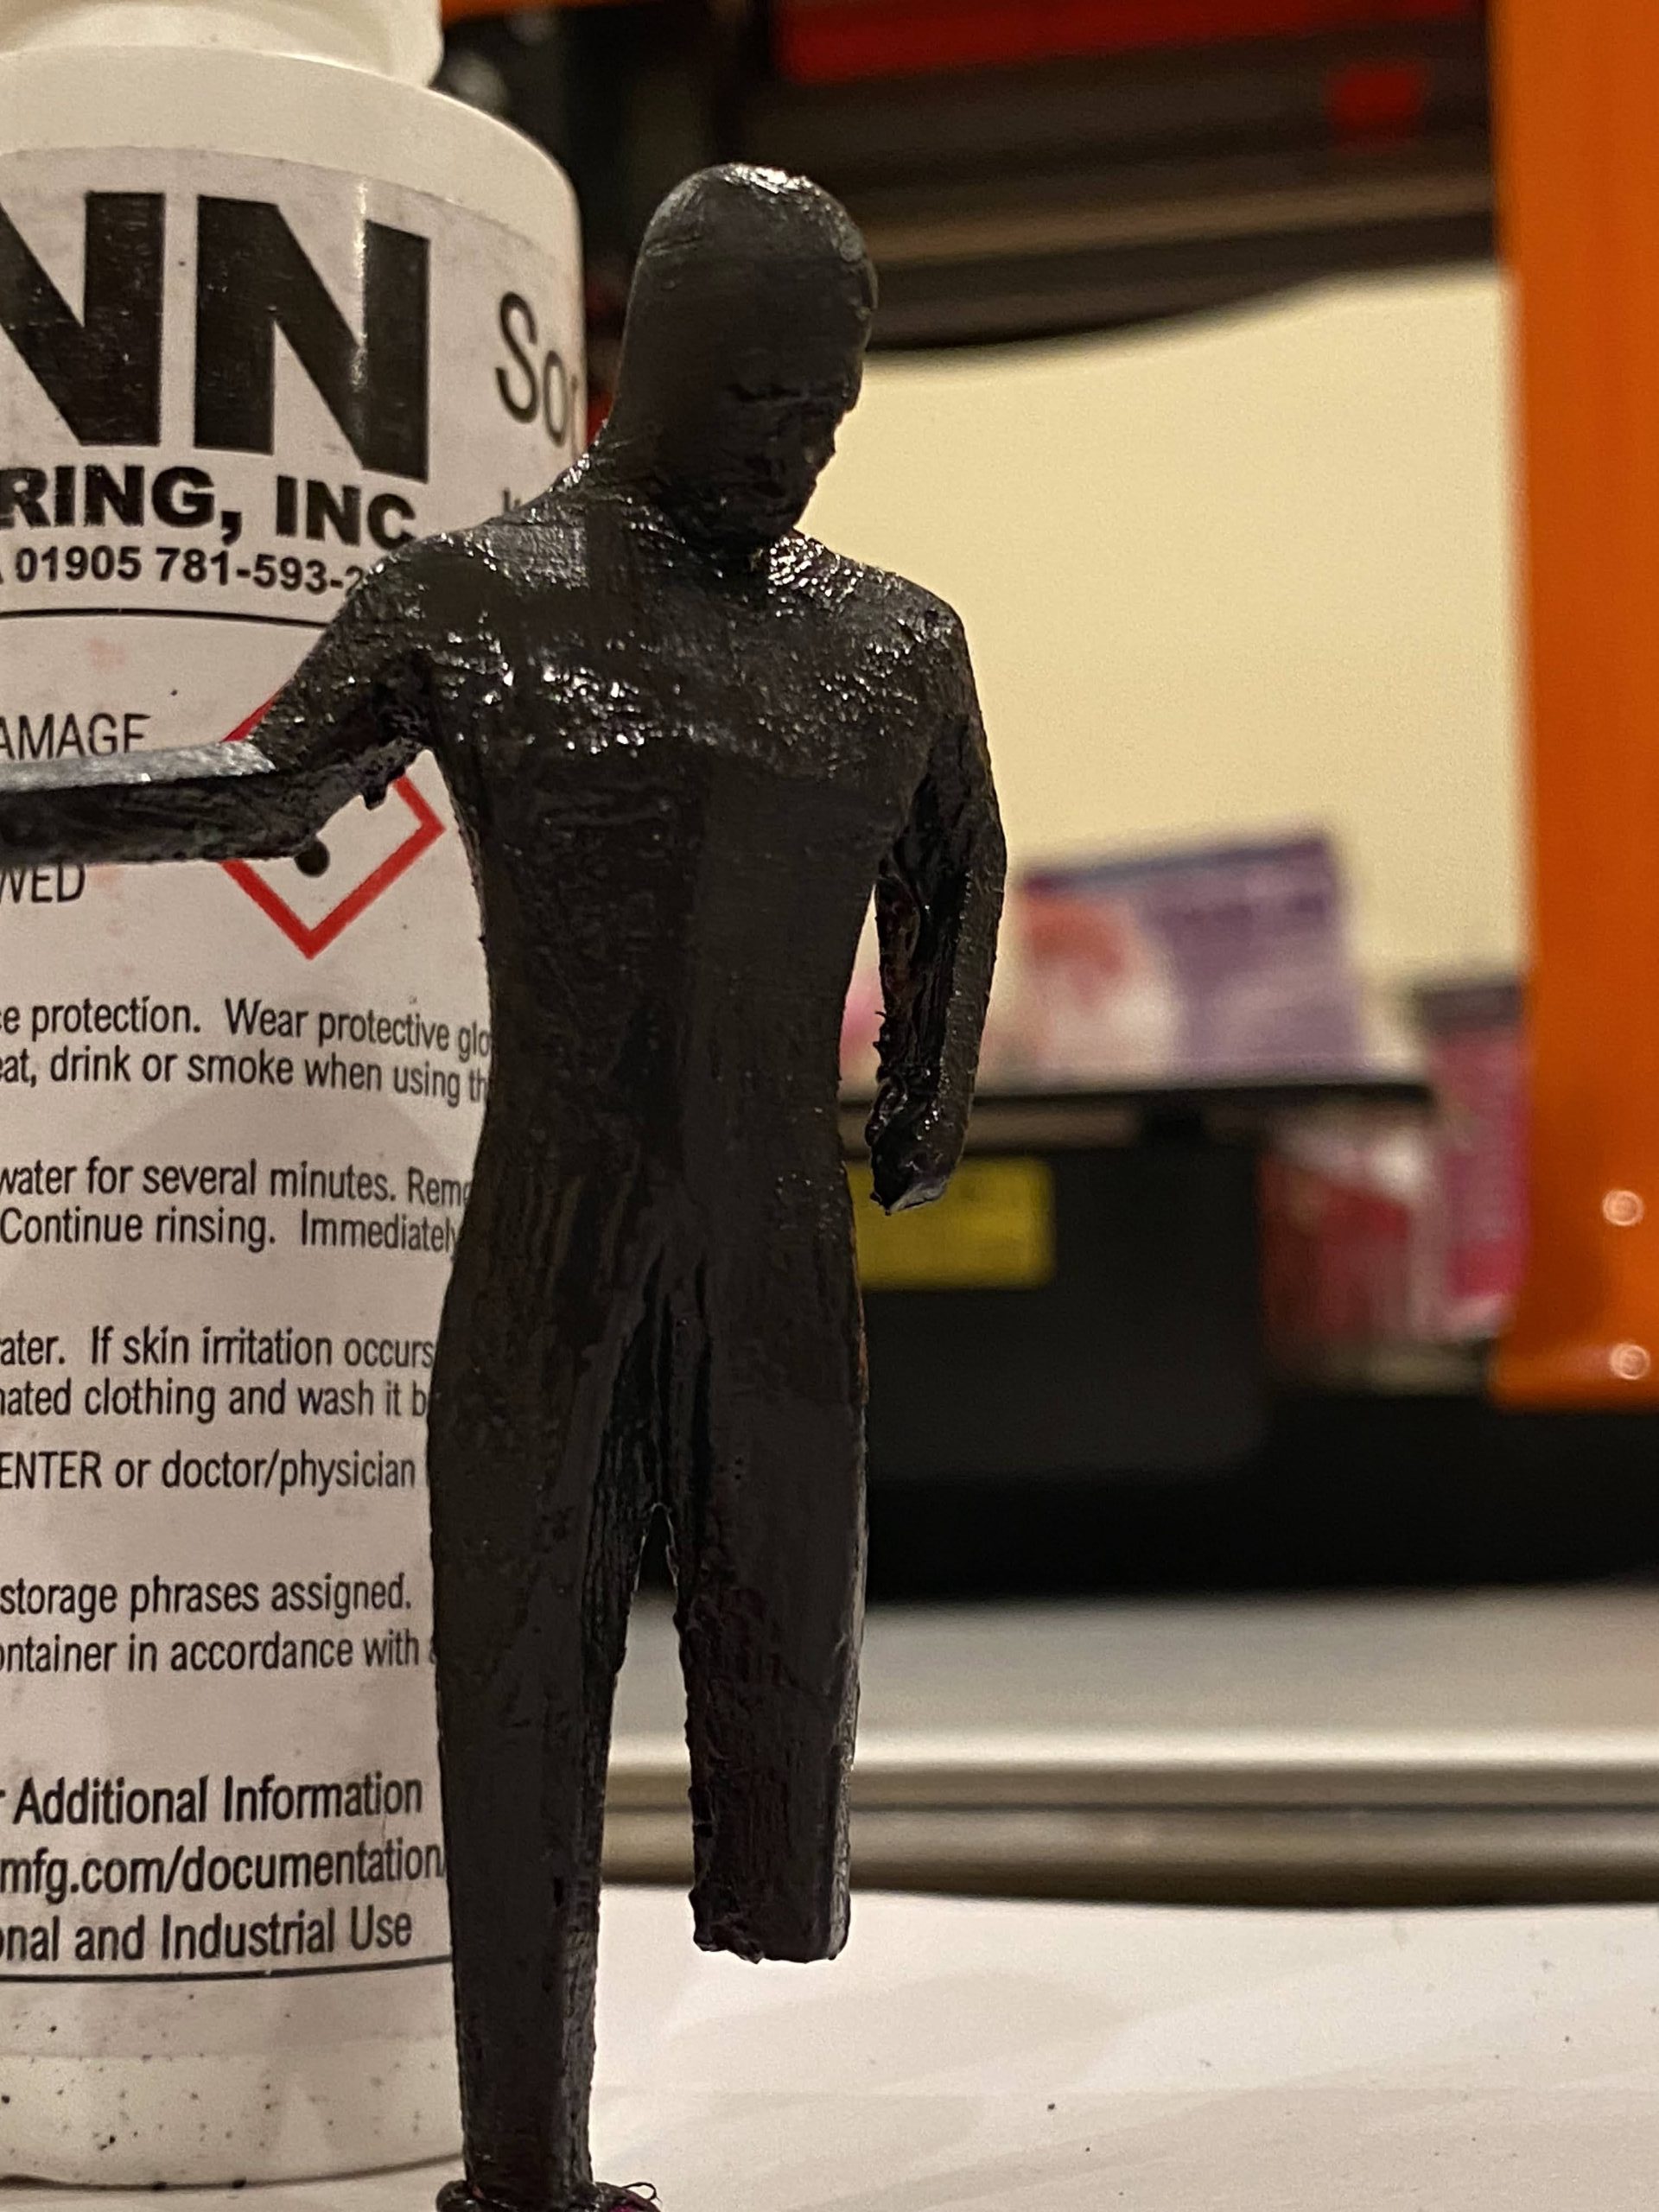
Making The PLA Prints Electrically Conductive
Electroplating requires that the object you want to plate is smooth (sanded) and electrically conductive. In order to plate a non-conductive/insulator such as PLA, we need to do some overhead work. This stage of the project was the most time difficult part to figure out resulting in a lot of failures. In the end, there were six distinct methods I attempted, along with a few variations. Below are the three most noteworthy attempts. I got the best results using the third method.
(see below for tips)
Attempt 1: I tried to create my own electrically conductive paint by mixing sodium silicate and very fine (44 micron) graphite powder. This trial failed. Despite having low electrical resistance which is critical to electroplating, the homemade paint became brittle during the electroplating process resulting in the coating pealing off.
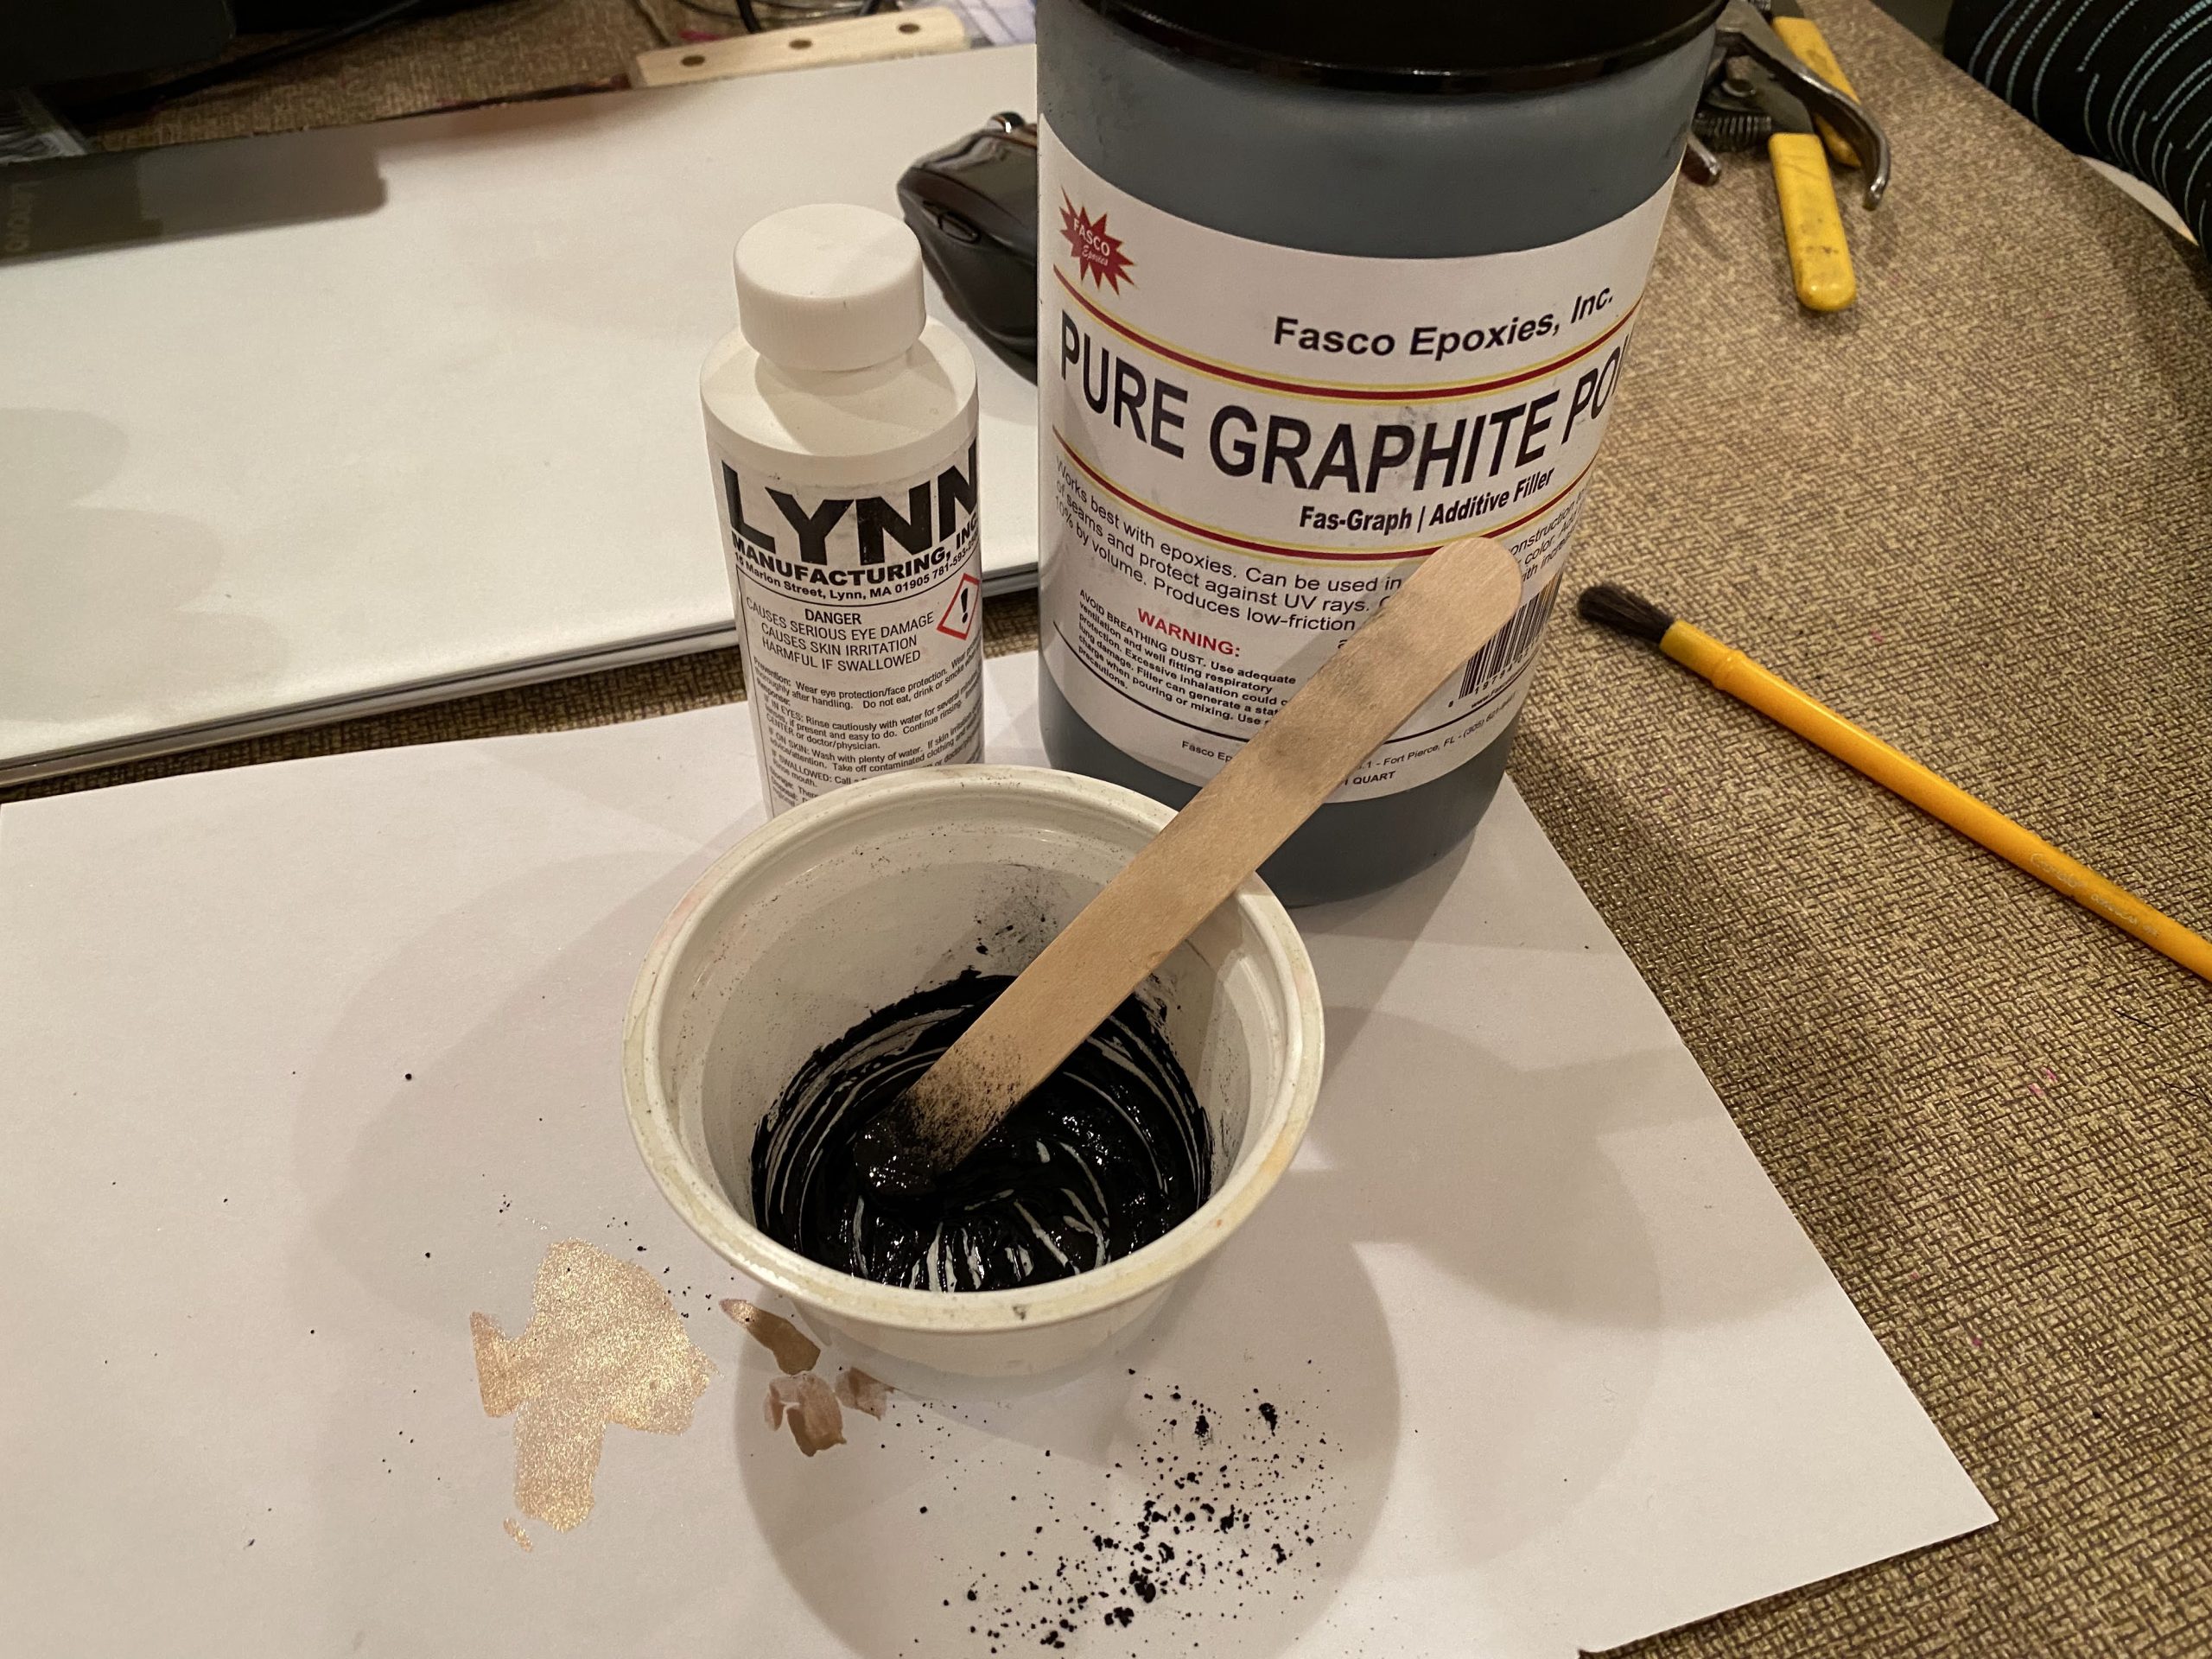

Attempt 2: I created a homemade paint with sodium silicate, acrylic paint, and very fine (44 micron) graphite powder. While the addition of acrylic paint prevented it from becoming brittle during the electroplating process, it had too high of a resistance resulting in any copper failing to adhere to the surface.


Attempt 3 (BEST): Coating the surface of the statue with nickel spray paint proved to be the best method. The paint stuck to the surface well, had low electrical resistance, and could be applied uniformly resulting in a smooth copper finish.
Before applying the nickel spray paint, apply a base coat of bronze or copper paint to hide any imperfections with the electroplating. The nickel spray paint is very conductive, so only a light coat is required.
(immediately after removal from electroplating bath)
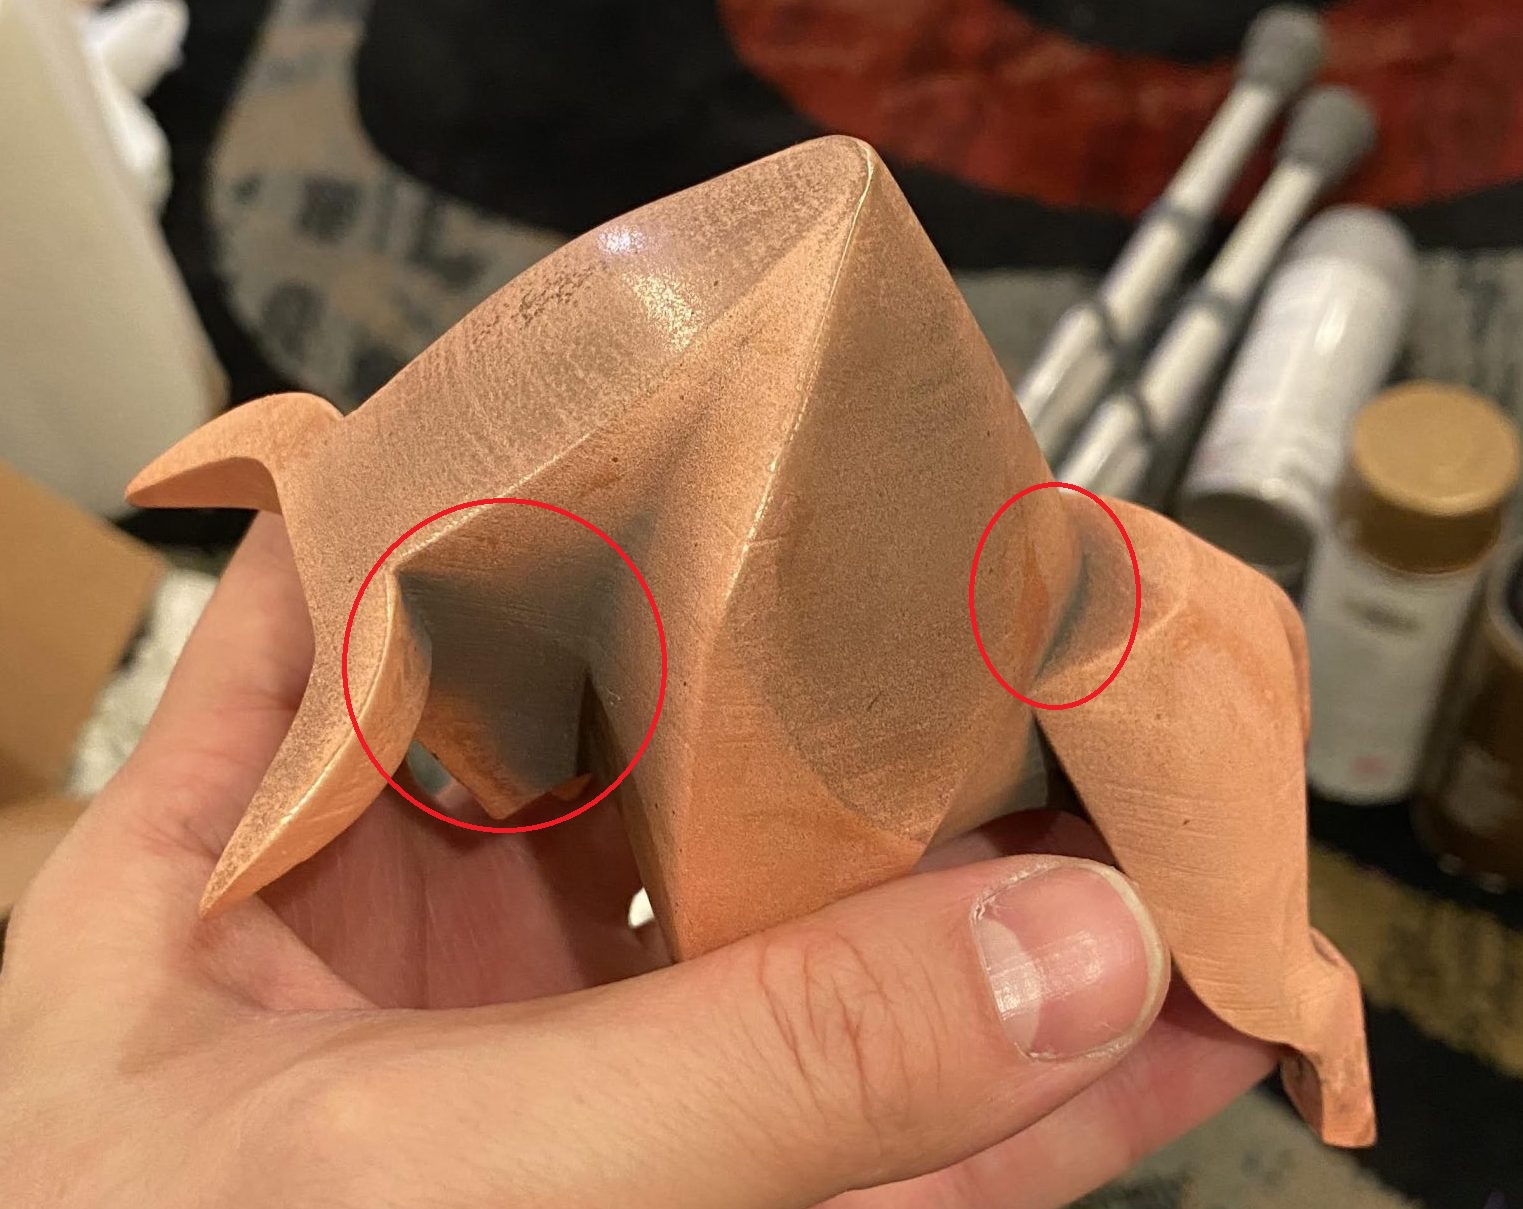
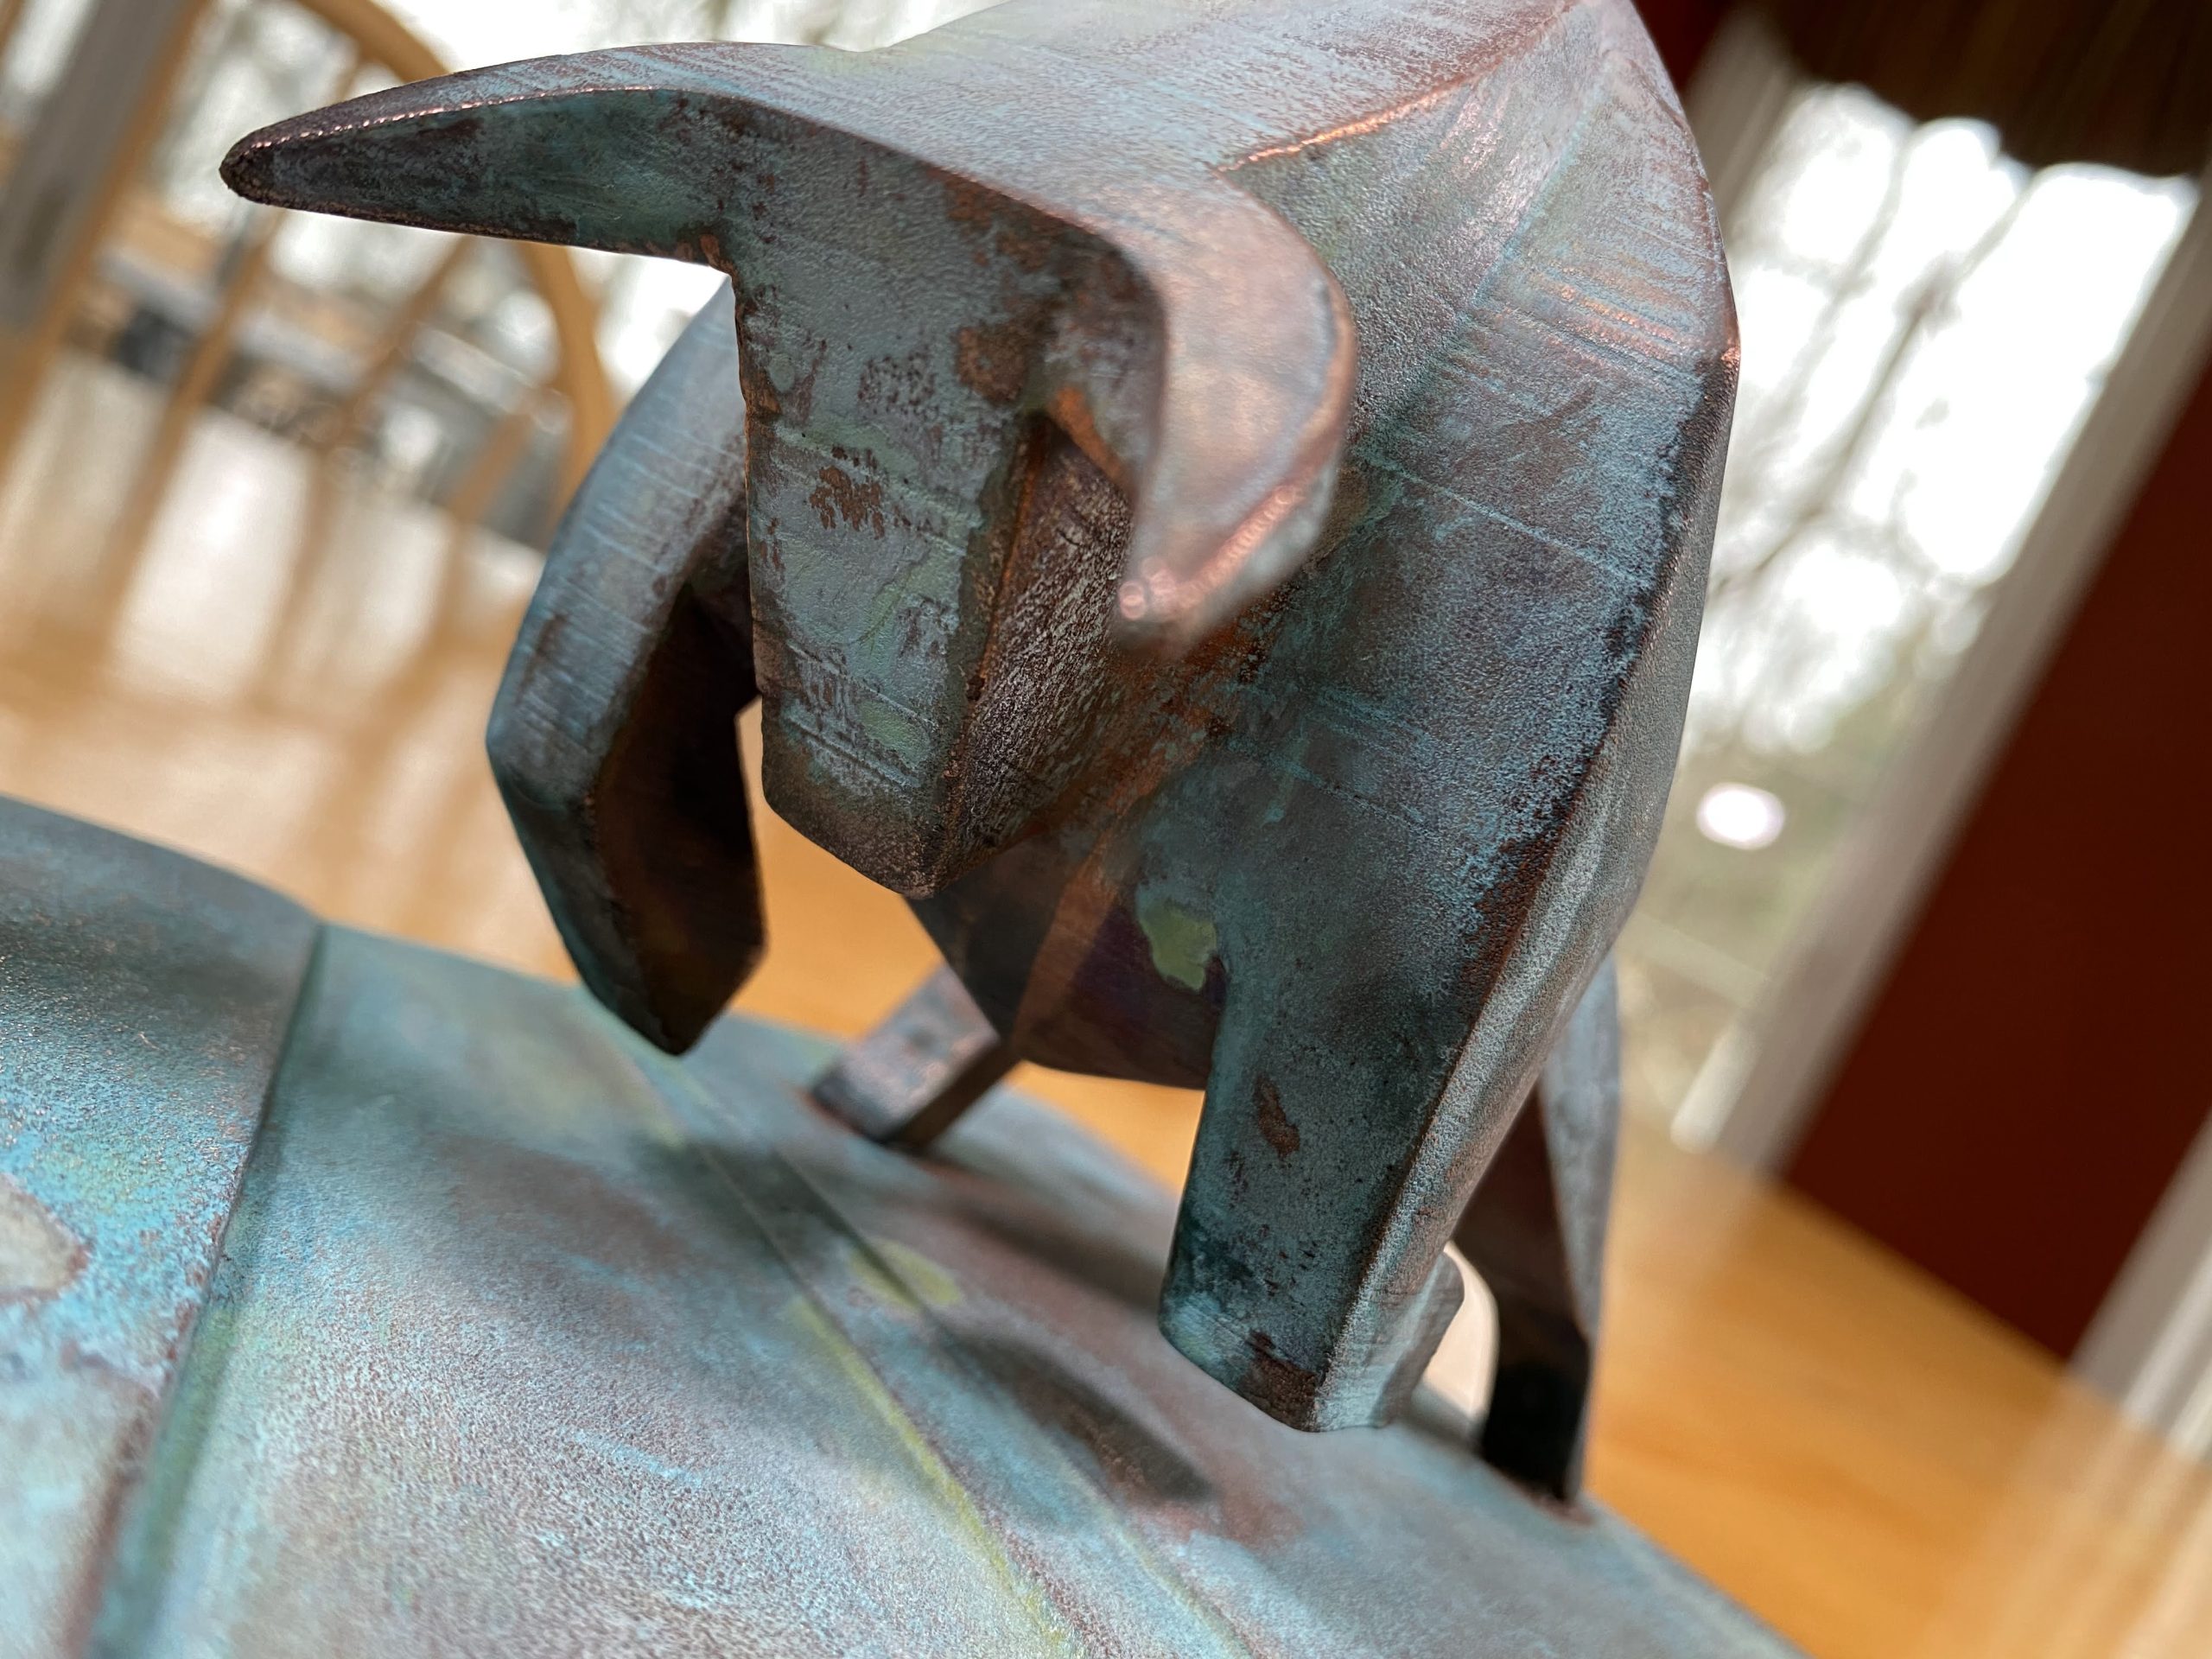
Note in the left image how the copper failed to adhere in creases/concave portions of the statue. Unfortunately this is unavoidable with large and complex objects. Because of this, parts of your statue that protrude will have the thickest copper coating while inner recesses will have the thinnest coating.
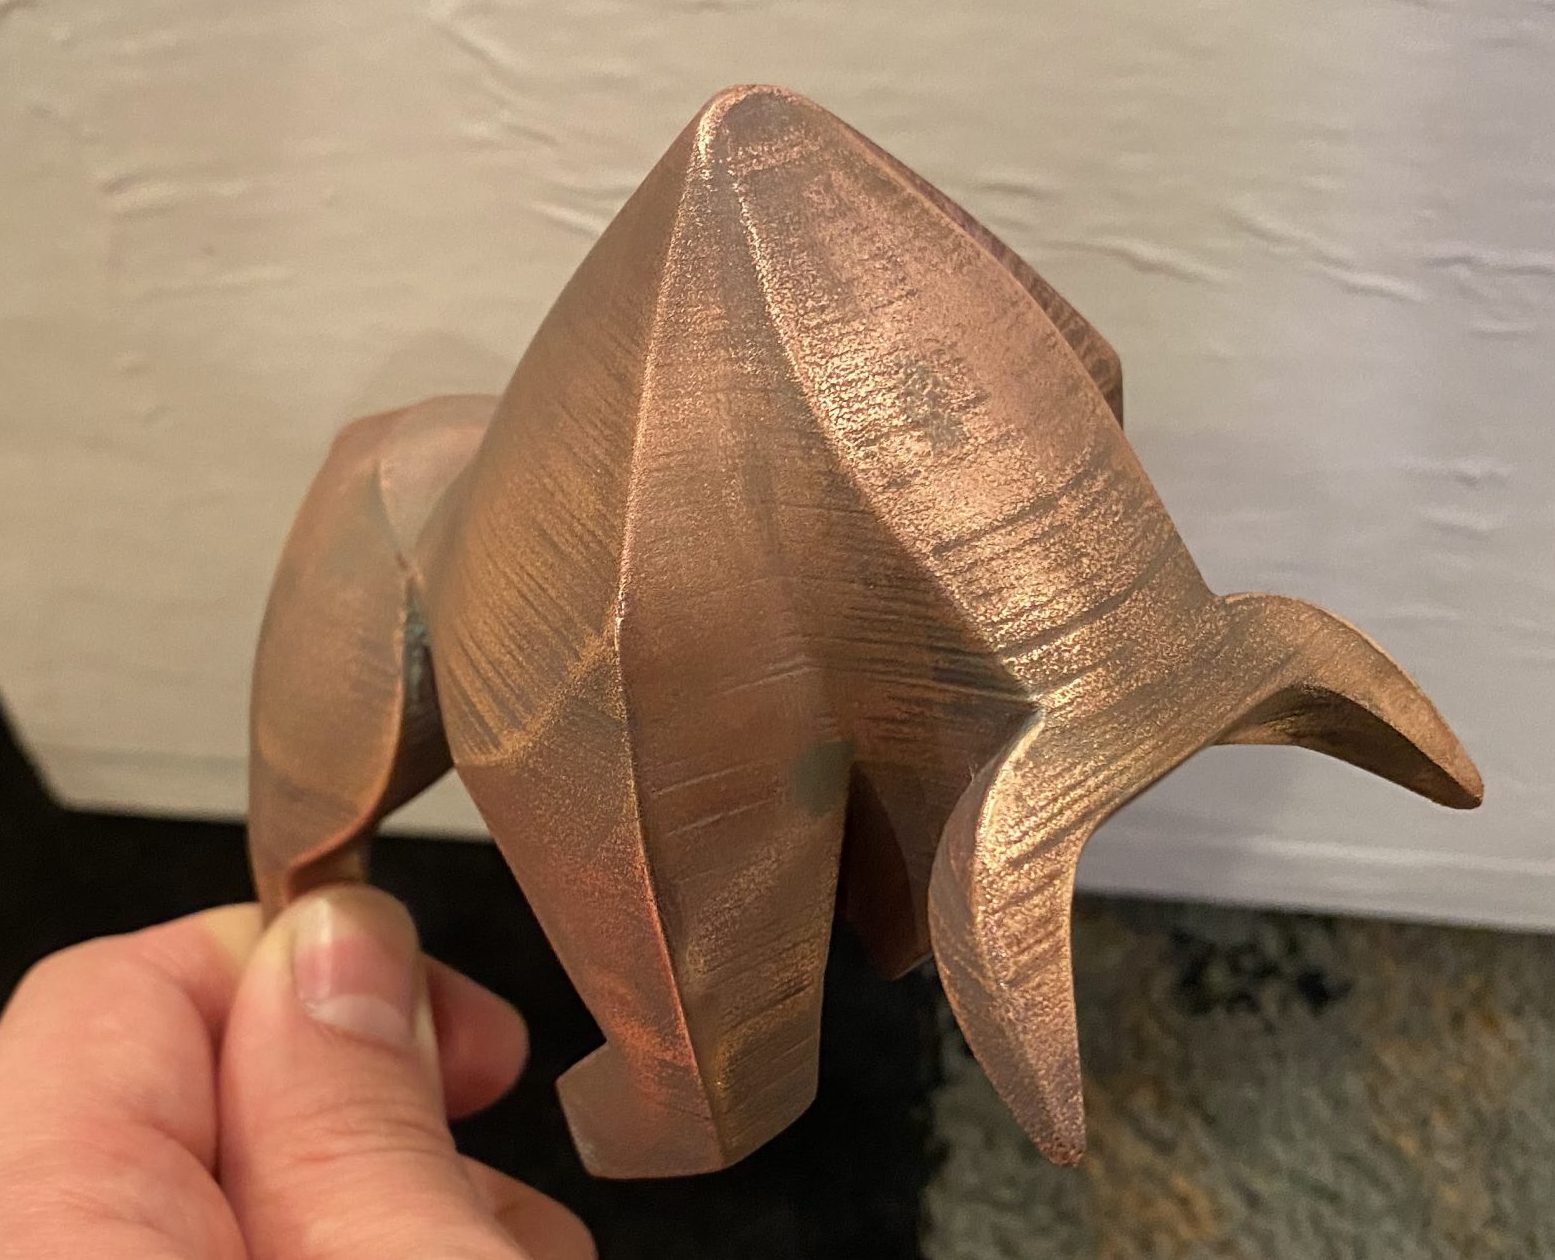
After Plating
IMMEDIATELY after electroplating, soak your statue in a bath of water and baking soda to neutralize the acid. If you don’t do this, your newly deposited copper will start to quickly oxidize into a deep green/blue color.
Resources & Tips
- For better electroplating:
- ~1.5V is ideal (higher voltages can be used with simpler designs, for example when coating a sphere)
- Increase the surface area of your cathode/electrodes by either adding additional copper electrodes or using copper scouring pads as your electrodes
- Only electroplate small parts. If your statue is too big, there will be areas where no copper will deposit. You may need to cut your statue into smaller pieces.
- If you’re attempting to plate something, but no copper is depositing on the surface, there are two likely reasons:
- A solid connection between your negative terminal and the object you’re electroplating is required. If you’re not getting a good enough connection, nothing will happen. To improve the connection you can:
- Add additional connection points
- Increase the surface area at each connection (I ended up wrapping up aluminum foil around the connection point and attaching my alligator clip to the foil).
- Your object is not electrically conductive enough. To test the conductivity, use a multimeter to measure the resistance along the length of your statue. If your resistance is greater than a couple ohms, then the surface is not conductive enough.
- A solid connection between your negative terminal and the object you’re electroplating is required. If you’re not getting a good enough connection, nothing will happen. To improve the connection you can:
STAGE 3
FINISHING
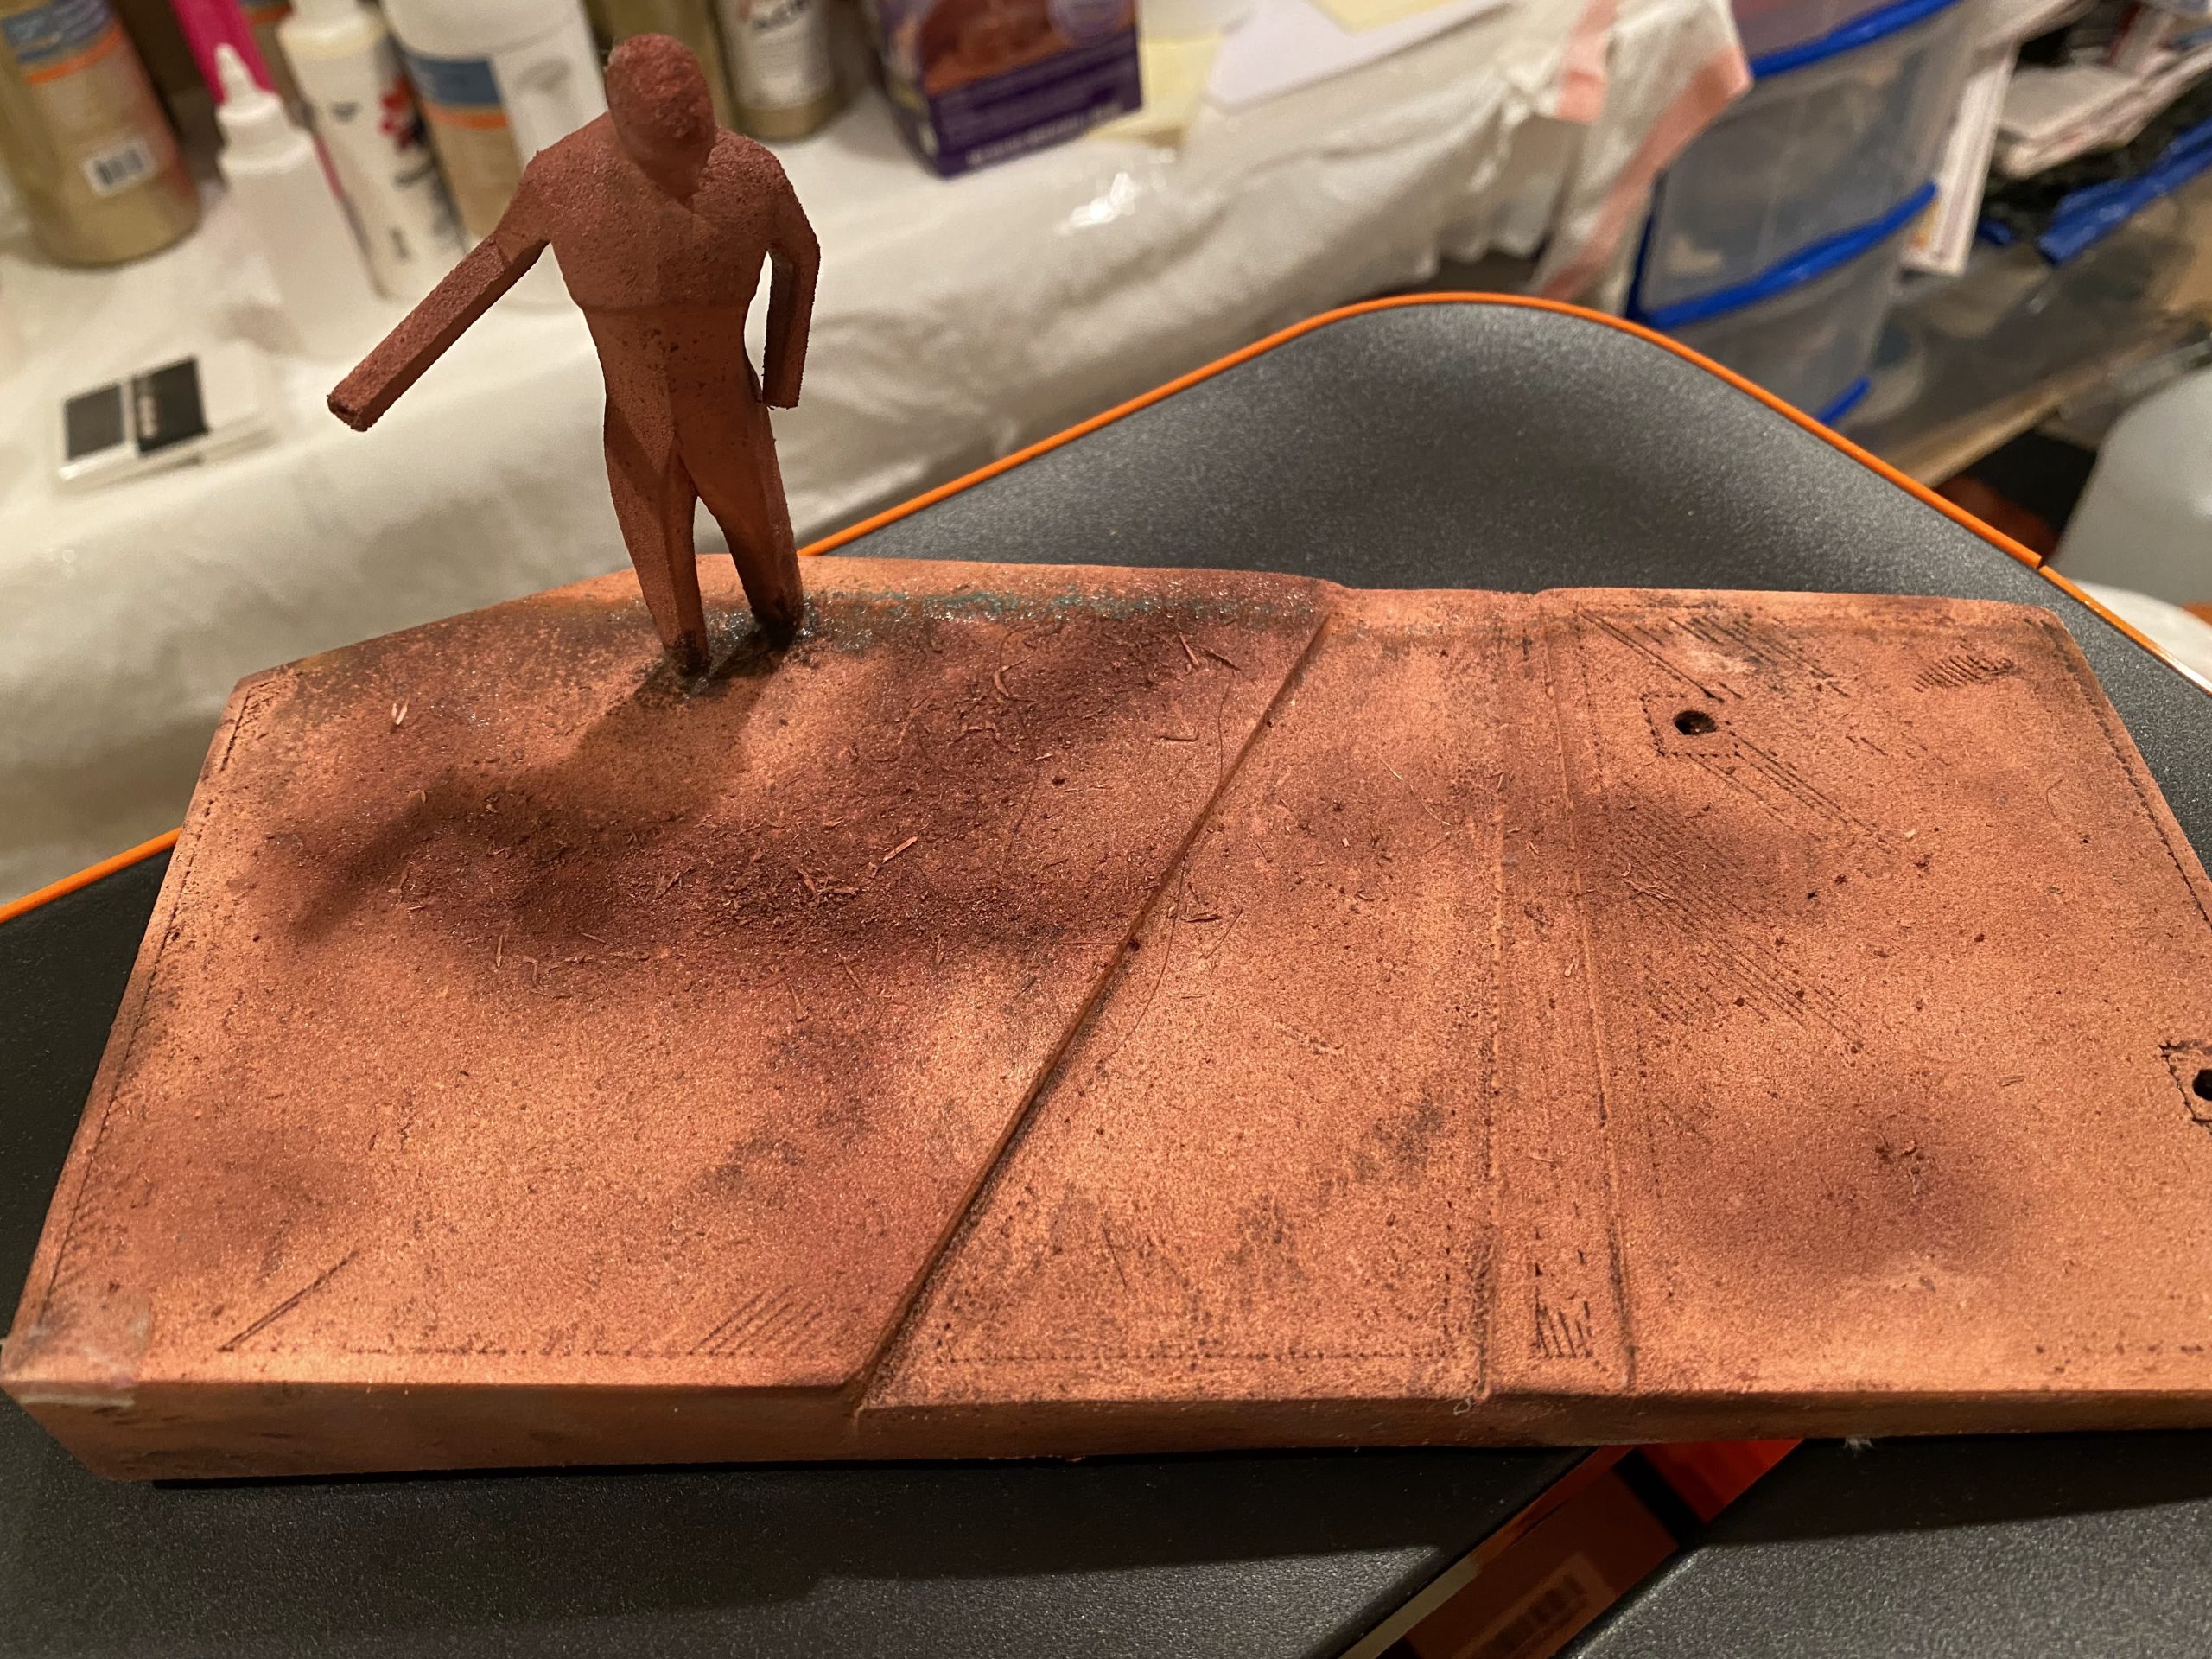
Fill Base with Concrete
To give the illusion that this is a real solid copper statue, we’ll weight the base with concrete. The concrete type doesn’t really matter. Once dry, I’d recommend covering the bottom with a felt or velvet adhesive sheet.

Polishing
After the electroplating, the copper will be a dull red color. To make it look movie-accurate, you’ll need to polish it before oxidizing it. For tarnish removal, I’d use Brasso. For smoothing, you’ll need to carefully sand the thin surface. Work your way from fine (800 grit) to ultra fine (2000 – 2500 grit) sandpaper. The copper coating is VERY THIN, so sand slowly and with
After Polishing
Creating a Patina by Oxidizing the Copper
Using a either a solution of vinegar and salt or a Blue Patina Aging Solution by Modern Masters, dampen all areas that you’d like to oxidize. Over the course of an hour monitor the oxidation progress. Once you’ve achieved your desired amount of patina, rinse the statue in a water bath (with a tiny bit of baking soda) to neutralize and stop the oxidation.
Time-lapse
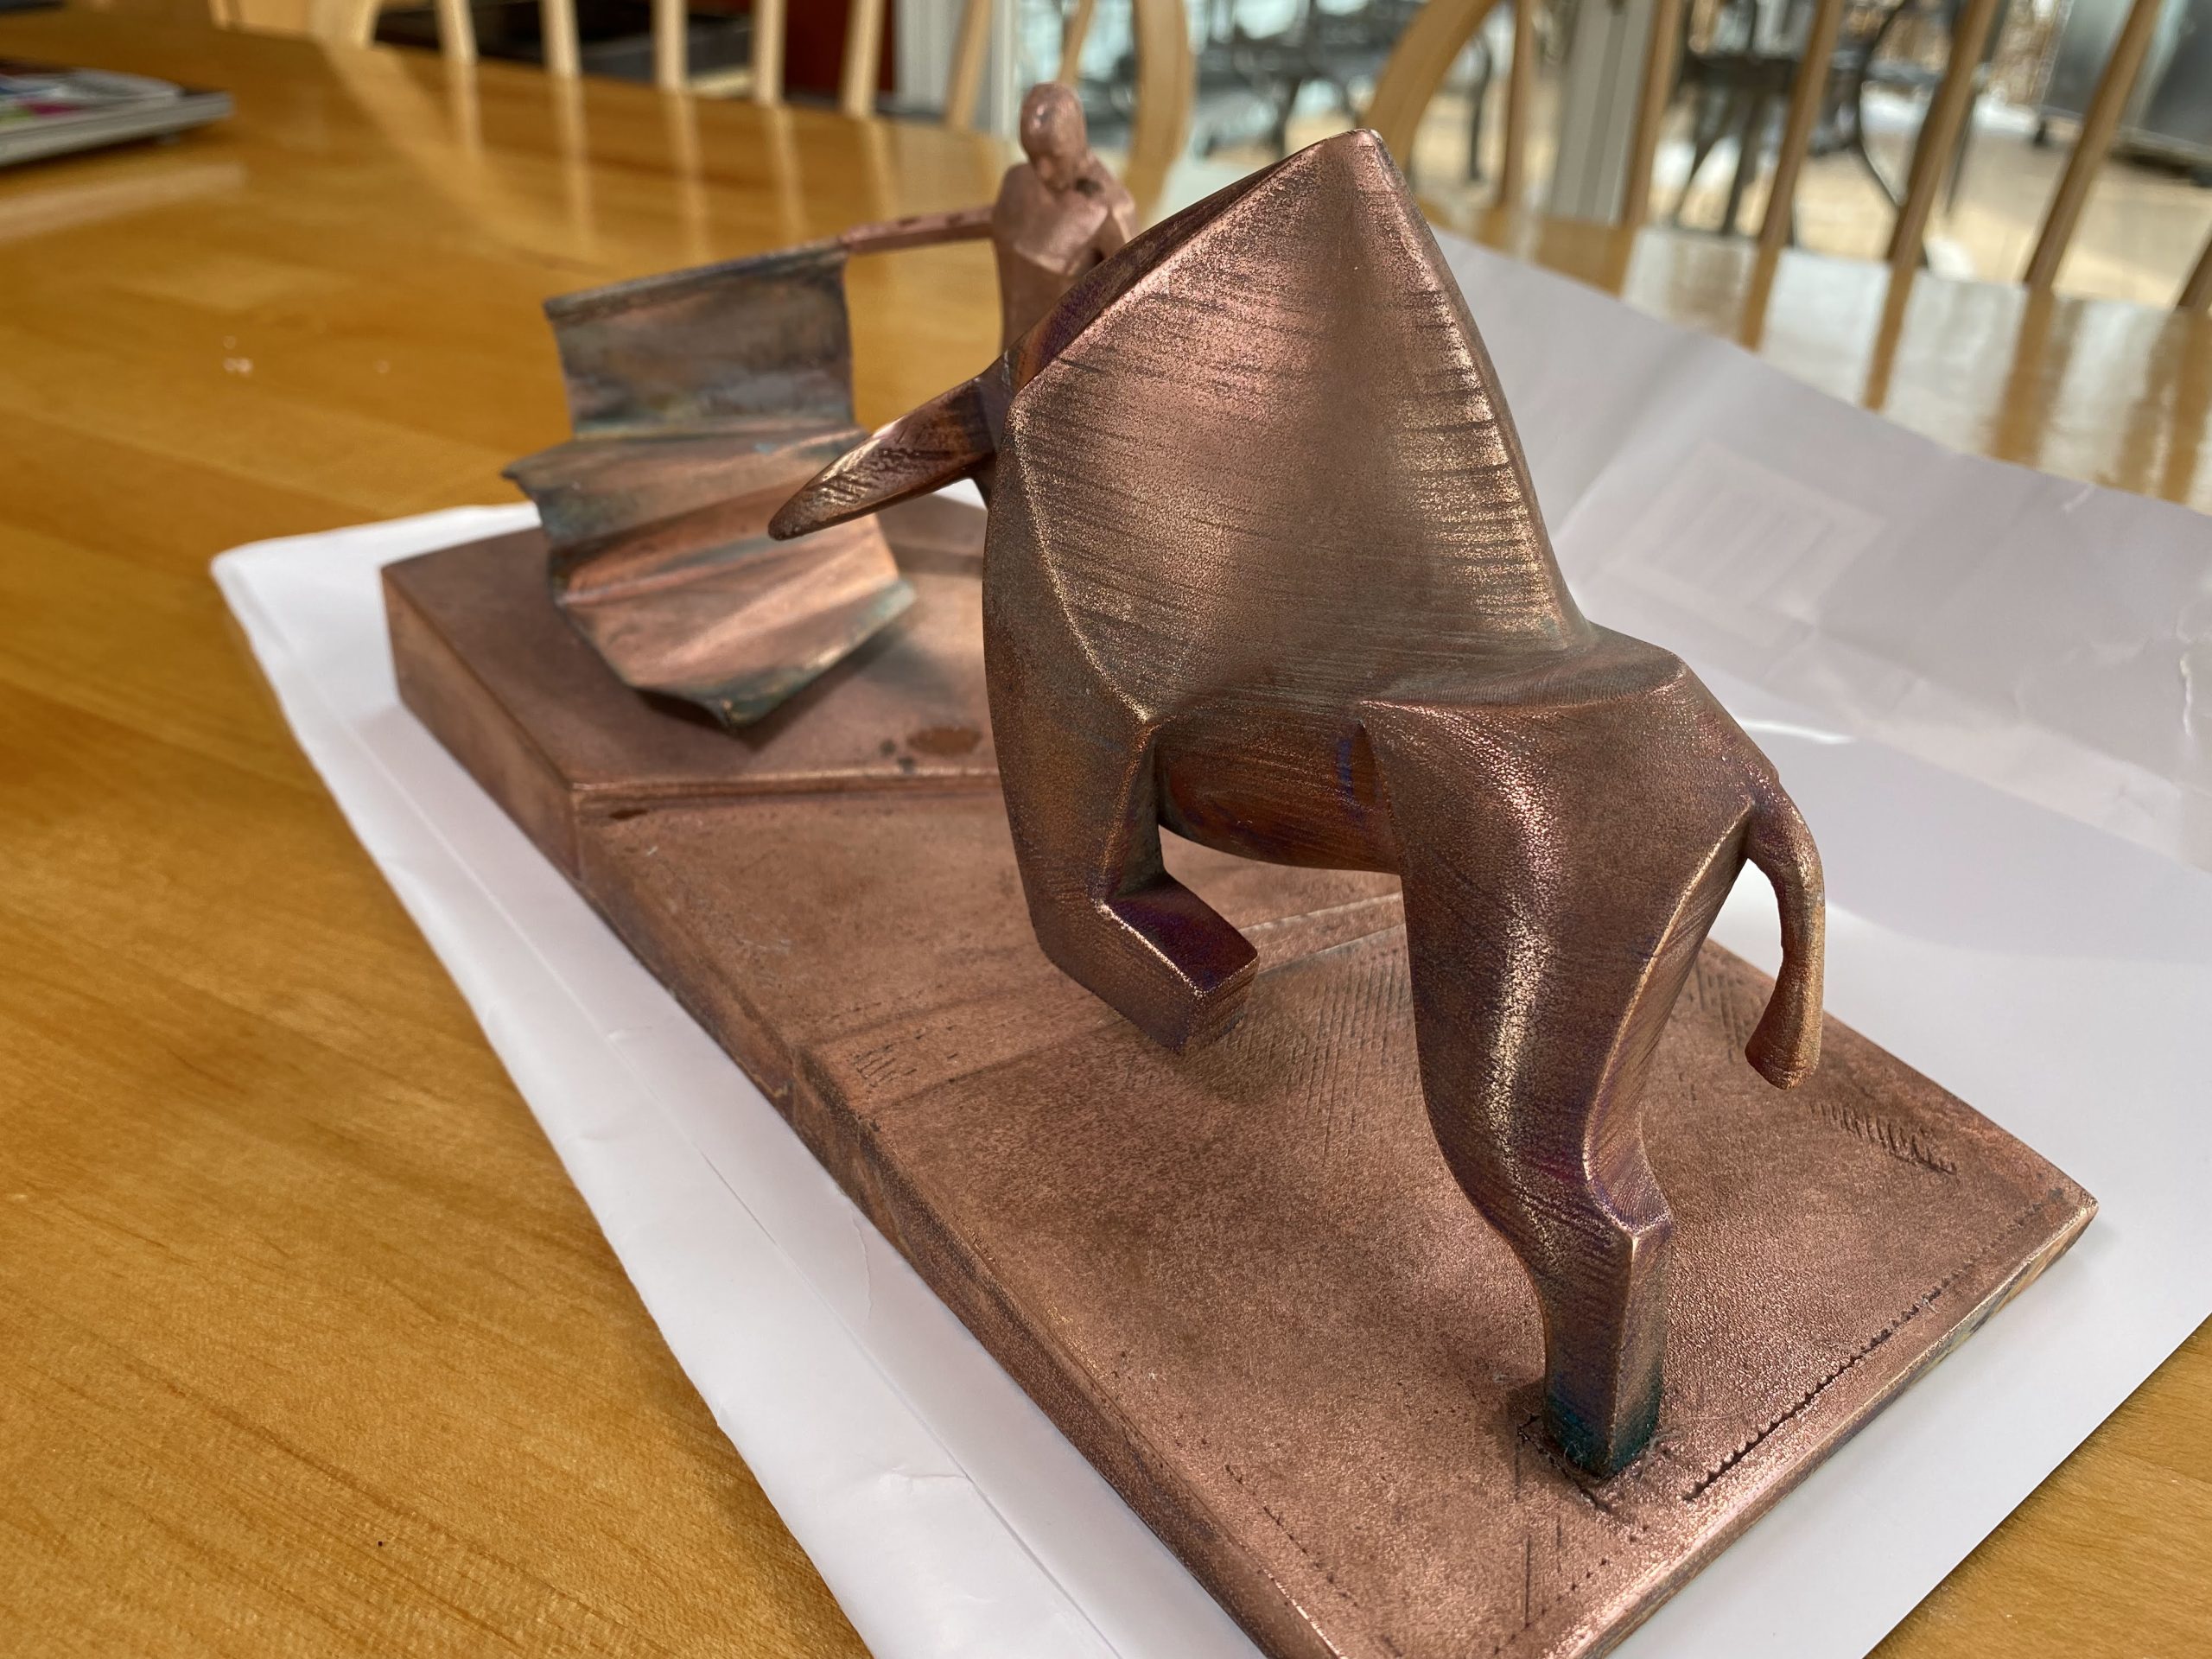
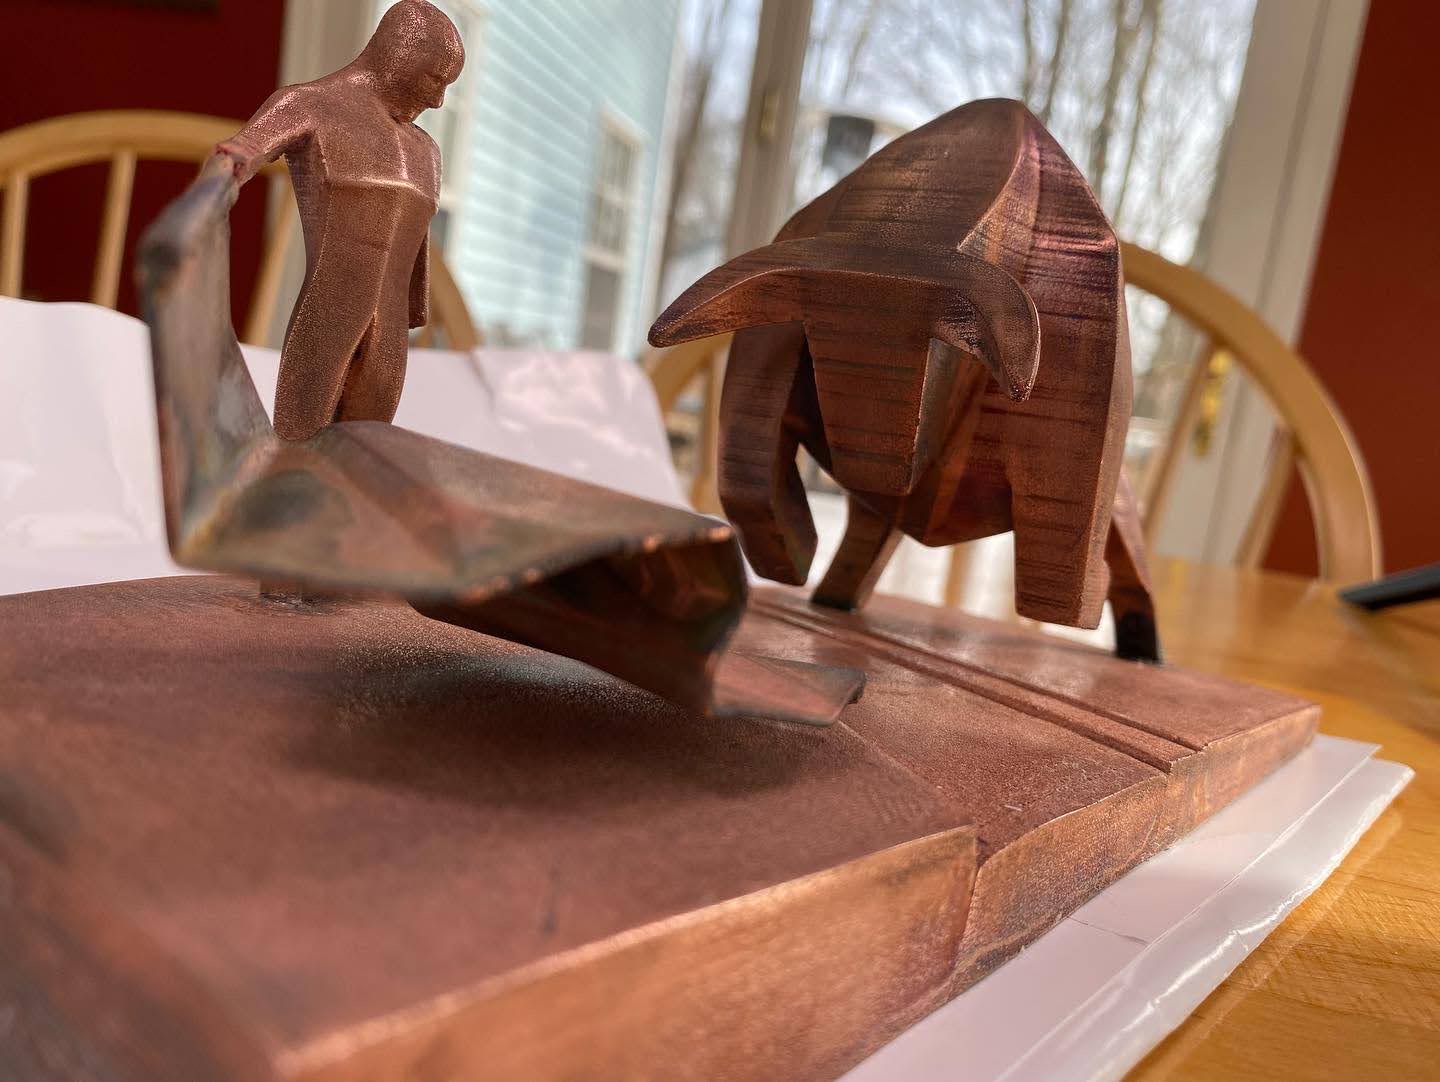
The Final Result